How to build a bird feeder
# How to Build a Bird Feeder: A Complete Guide Building a bird feeder is a rewarding project that can bring the beauty of nature closer to your home. Not only does it provide sustenance for our feathered friends, but it can also create a delightful viewing experience for yourself and your family. In this guide, we will take you through everything you need to know about constructing a functional and aesthetically pleasing bird feeder. ## Why Build a Bird Feeder?The act of building a bird feeder serves several purposes:
- Encourages Wildlife: Providing food sources helps support local bird populations.
- Observation: It offers opportunities to observe various bird species and learn about their behaviors.
- Educational Value: Engaging in this project can teach children and adults alike about nature and responsibility.
- Creativity: A DIY bird feeder allows for personal expression through design.
Before diving into the building process, it's important to understand the various types of bird feeders available. Choosing the right style will depend on the bird species you wish to attract and the materials you prefer to use.
### Platform FeedersPlatform feeders are simple structures that consist of a flat surface for birds to eat from. They can be made from wood or plastic.
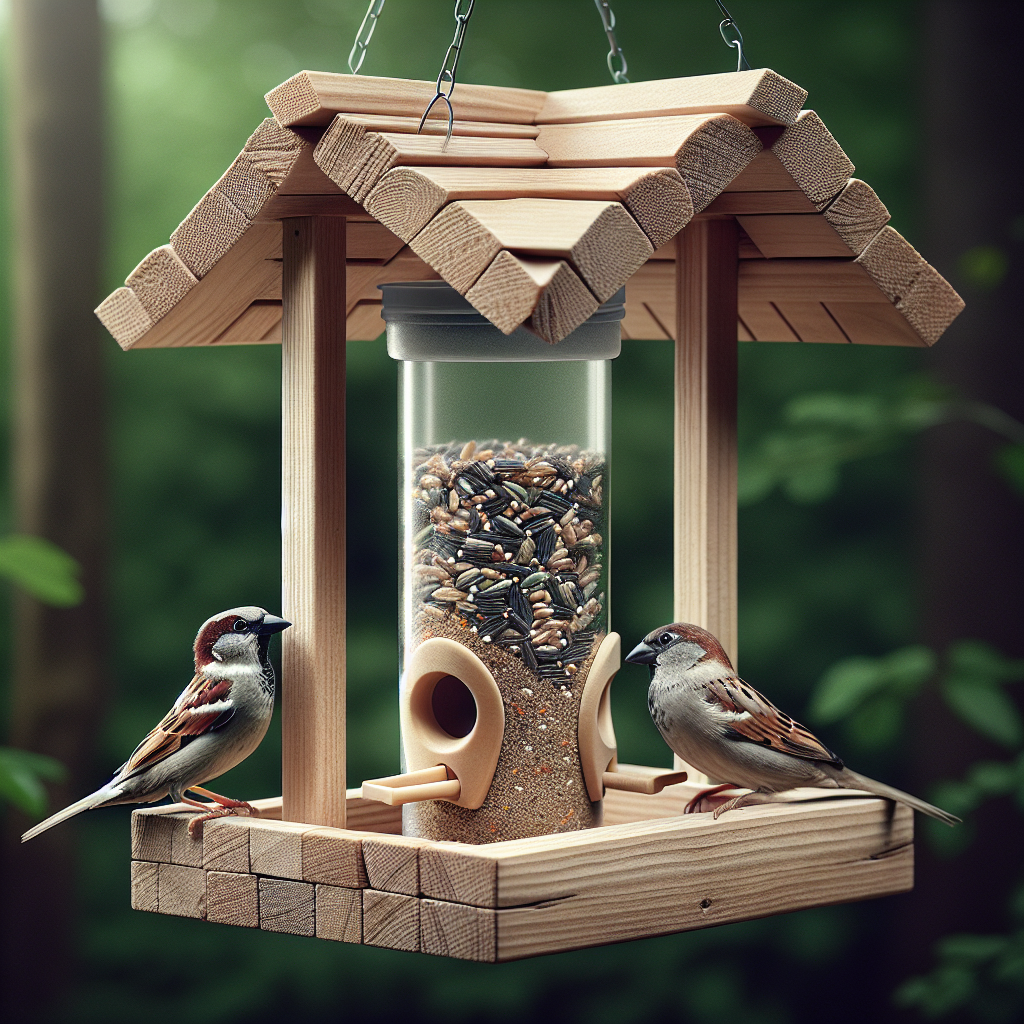
### Tube FeedersTube feeders are cylindrical containers with small feeding ports. They are ideal for attracting smaller birds like finches.
### Hopper FeedersHopper feeders are enclosed structures that can hold a larger quantity of bird seed. They can protect seeds from the elements.
### Suet FeedersSuet feeders are specifically designed to hold suet cakes, an excellent food source for many birds, especially during winter.
--- ## Materials You'll NeedNow, let's look at the materials you will need to build your bird feeder. The choice of materials largely depends on your type of feeder and budget.
### Basic Materials- Wood: Cedar is a popular choice due to its durability and resistance to rot.
- Metal Roof: For added protection against rain and snow.
- Wood Glue: For securing wooden parts.
- Paint or Stain: Optional, for aesthetics and additional weather protection.
- Drill and Screws: For assembly.
- Sandpaper: To smooth rough edges.
Having the right tools on hand will make your project easier and more enjoyable. Here’s a list of tools you may need:
- Measuring Tape: For precise measurements.
- Square: To ensure corners are square.
- Drill: To create holes for screws and drainage.
- Screwdriver: For assembling the feeder.
- Pencil: To mark measurement lines.
Now that you have all the materials and tools ready, let's walk through a simple method for constructing a basic bird feeder.
### Step 1: Design Your FeederBefore cutting any wood, sketch out your design. Consider the following:
- Dimensions based on the space available
- Type of birds you want to attract
- Placement of feeding ports (if applicable)
Here’s a simple design idea:
| Part | Dimensions |
|---|---|
| Base | 12" x 12" |
| Sidewalls | 8" x 12" (x4) |
| Roof | 15" x 15" |
Using a saw, carefully cut your wood according to your design dimensions. Double-check your measurements to avoid mistakes.
### Step 3: Assemble the BaseStart by attaching the sidewalls to the base using screws and wood glue. Ensure that the edges are flush for a better fit.
### Step 4: Add the RoofOnce the sidewalls are secure, position the roof on top. You can add a slight overhang for additional rain protection.
### Step 5: Create Feeding Ports (if necessary)If you're building a type of feeder that needs feeding ports, drill small holes through the walls for the birds to access the food.
### Step 6: Sand and PaintUse sandpaper to smooth any rough edges. If desired, paint or stain your feeder for added protection and to enhance its appearance.
### Step 7: Add Drainage HolesTo prevent water accumulation, drill small holes in the base of the feeder to allow for drainage.
### Step 8: Mount or Hang Your FeederYou can either mount it on a post or hang it from a tree branch. Ensure it is stable and placed in a location where birds feel safe from predators.
--- ## Maintenance of Your Bird FeederTo ensure your bird feeder remains a welcoming spot for birds, regular maintenance is essential:
### Cleaning Your FeederIt’s important to clean your bird feeder every two weeks to prevent mold and bacteria growth. Here’s how:
- Empty the feeder of old seed.
- Wash with soap and water or a solution of vinegar and water.
- Rinse thoroughly and let it dry completely before refilling.
Keep an eye on seed levels and refill your feeder as needed. Different bird species may prefer different types of seeds, so you can vary your offerings to attract a diverse range of birds.
--- ## ConclusionBuilding your bird feeder is an excellent project that combines creativity, skill, and a love for nature. By following the simple steps outlined above, you will create a refuge for birds while enjoying the many benefits that come with encouraging wildlife in your own backyard.
Whether you're watching the birds flit about, teaching children the joys of nature, or even adding beauty to your yard, this project is a win-win! As more people turn to nature-based activities, creating a bird feeder is an excellent way to contribute positively while also feeding your soul.
---Remember, monitoring the feeder's condition and the happiness of your avian visitors is key. Good luck, and happy birdwatching!
By Guest, Published on July 31st, 2024