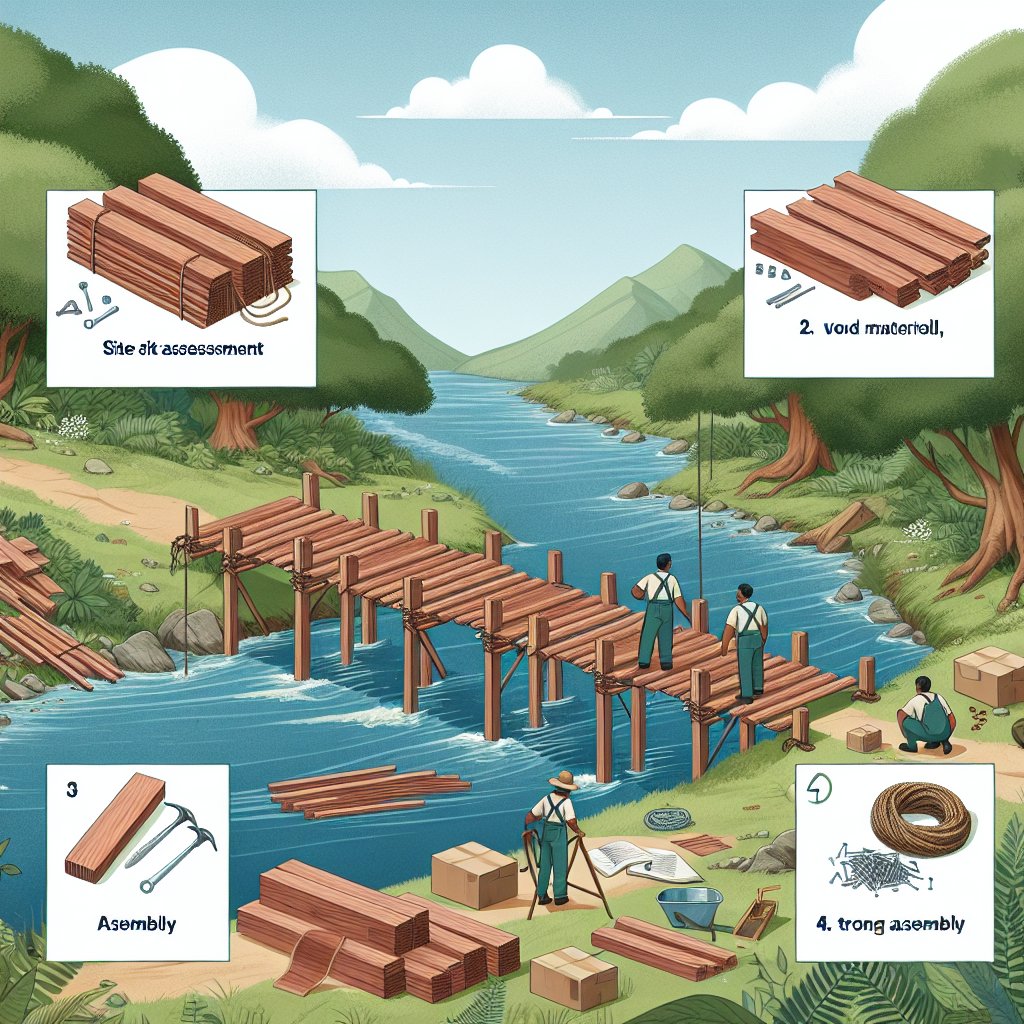
How to build a bridge over a creek
Building a Bridge Over a Creek: A Comprehensive Guide
Creating a bridge over a creek can be an exciting and rewarding project, whether you’re looking to improve accessibility for your property, enhance your landscape, or simply create a charming pathway to connect two areas. In this article, we will delve into the essential steps for constructing a bridge, ensuring that when the project is completed, it not only looks good but also stands the test of time. Whether you're a seasoned DIYer or a novice, this guide covers everything you need to know.
Understanding Your Needs
Before diving into the physical work of building a bridge over a creek, it’s vital to assess your needs and plan accordingly. Start by asking yourself the following questions:
- What is the purpose of the bridge? – Is it for foot traffic, vehicles, or simply decorative?
- What is the width and depth of the creek? – This will determine the size and structure of your bridge.
- What materials will you need? – Depending on the design and your budget, you might choose timber, steel, or concrete.
- Are there any legal considerations? – Check with your local authorities for permits or environmental regulations.
Planning Your Bridge Design
Once you have a clear understanding of your needs, it’s time to plan the design of your bridge. Here are some popular bridge types:
- Beam Bridge: Simple and easy to build, ideal for lightweight applications.
- Arch Bridge: Aesthetic and strong, suitable for larger spans.
- Suspension Bridge: Perfect for wide creeks, though they require more sophisticated engineering.
Consider drawing a sketch of your proposed bridge, detailing dimensions, materials, and any aesthetic choices. This sketch will serve as a helpful reference throughout the building process.
Gathering Materials
With a finalized design in hand, gather all necessary materials. Here’s a basic list you may need:
- Pressure-treated lumber or steel beams
- Concrete for footings (if necessary)
- Decking materials (wood or composite) for the top surface
- Fasteners (nails, screws, bolts)
- Tools (saw, drill, level, measuring tape)
Preparing the Site
Next, you’ll need to properly prepare the area where the bridge will be built. Start with these steps:
- Clear the area: Remove any vegetation, rocks, or debris in the immediate vicinity of the creek.
- Ensure stability: Check the banks of the creek to ensure they are stable enough to support the bridge structure.
- Determine the bridge location: Mark where the bridge will sit using stakes or paint.
Building the Foundation
The foundation is crucial for the stability of your bridge. Depending on your design, you may need to create concrete footings or simply lay down a support structure. Here’s how to do it:
- If using concrete footings: Dig holes deep enough to support your bridge, keeping in mind the frost line if you live in colder areas.
- Pour concrete: Allow it to set according to manufacturer instructions, typically 24 to 48 hours.
- For simple supports: Place beams directly on solid ground or using large stones as footings to maintain elevation.
Constructing the Frame
Building the frame is where you’ll start to see your bridge come to life. Here’s a basic outline of the steps needed:
- Install main beams: Lay down the main support beams, either parallel or in an arch, depending on your design.
- Add secondary supports: If it’s a beam bridge, position additional cross beams to provide extra support.
- Ensure everything is square and level: Use a level to check the frame before proceeding.
Decking the Bridge
Decking is the surface of the bridge and provides the path for users. Consider the following guidelines:
- Select decking material: Choose wood or composite options, thinking about durability and maintenance.
- Secure the decking firmly: Use screws or nails to fasten the pieces, following safety guidelines.
- Leave appropriate gaps: These gaps prevent water pooling, especially in wet conditions.
Final Touches
With the main structure complete, it’s time to add any final touches:
- Add railings: For safety, especially if the bridge is elevated.
- Landscaping: Enhance the aesthetic appeal with plants on either side of the bridge.
- Regular maintenance: Plan for inspections and repairs to ensure longevity.
Safety Considerations
When building your bridge, safety should be a top priority. Here are some important considerations:
- Ensure structural integrity: Regularly check for any signs of wear and tear.
- Use proper equipment: Wear safety goggles, gloves, and harnesses where applicable.
- Consult professionals: If unsure about any aspect of the project, don’t hesitate to ask an expert for advice.
When to Seek Professional Help
While many DIY enthusiasts may successfully take on the challenge of bridge building, there are instances when consulting professionals is prudent:
- If your bridge design is complex or requires engineering calculations.
- When specific permits are required that necessitate professional oversight.
- If the location has challenging topographical characteristics.
In these cases, investing in professional services can save you time and ensure that your project meets safety standards.
Conclusion
In summary, building a bridge over a creek can be an enjoyable project that enhances your property and provides practical benefits. By carefully considering your design, gathering necessary materials, and following a structured approach, you can create something truly special. Always prioritize safety and consult with professionals if needed. With the right preparation and execution, your bridge will become a lasting feature in your landscape for years to come.
By Guest, Published on August 23rd, 2024