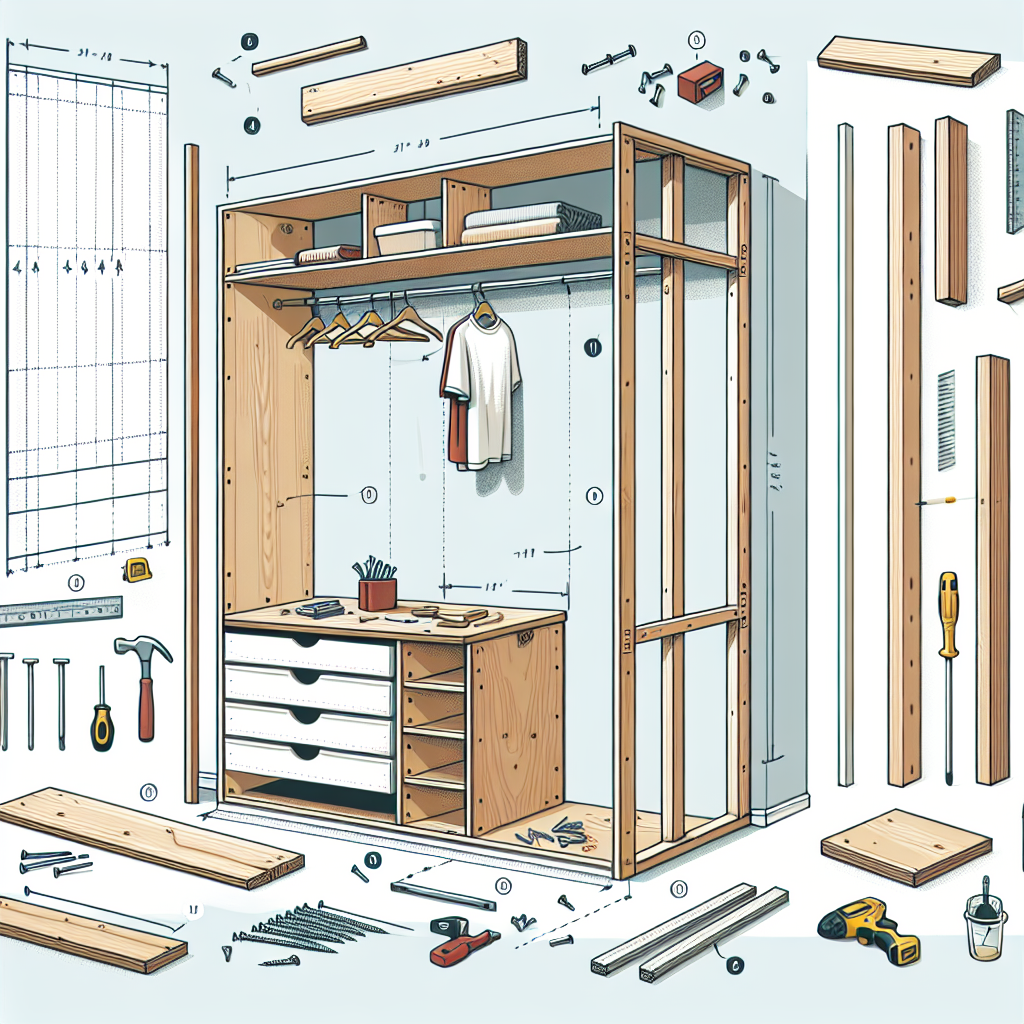
How to build a built in wardrobe
Introduction
Building a built-in wardrobe can dramatically transform your space, adding both functionality and aesthetic appeal. Whether you're looking to maximize storage in a small bedroom or create a luxurious dressing area, a well-designed wardrobe can cater to your needs. In this guide, we will explore how to build a built-in wardrobe, offering practical tips and tricks along the way.
Benefits of a Built-In Wardrobe
Before delving into the steps, it's important to understand why built-in wardrobes are a great choice for your home. Here are some key benefits:
- Maximized Space: Built-in wardrobes make use of every inch of available space.
- Customizable Design: You can design the wardrobe to fit your style and storage needs.
- Increased Property Value: A well-built wardrobe can increase the resale value of your home.
- Seamless Integration: They can blend seamlessly with your room's decor.
Planning Your Built-In Wardrobe
Effective planning is essential when considering how to build a built-in wardrobe. Here’s a step-by-step approach:
1. Assess Your Space
Start by measuring the area where you would like to install the wardrobe. Take note of:
- Dimensions of the space (height, width, and depth)
- Location of windows, doors, or other architectural elements
- Flooring type and any other features that could affect your design
2. Determine Your Needs
What will you be storing in the wardrobe? Consider the following storage needs:
- Hanging space for clothes
- Shelves for shoes and accessories
- Drawers for smaller items
- Specialty storage (e.g., for jewelry, ties, or hats)
3. Choose Your Style
The style of your built-in wardrobe should complement the overall design of your room. Common styles include:
- Traditional
- Modern
- Minimalist
- Industrial
4. Create a Design Plan
Sketch out your design, noting the layout and dimensions of shelves, hanging rods, and any other features. Software tools or online design apps can assist in visualizing your wardrobe.
Materials Needed
Once you have a plan, gather the necessary materials. The following list includes essential items:
- Plywood or MDF boards for the structure
- Wooden or metal hanging rods
- Brackets to support shelves
- Drawer slides and rails, if including drawers
- Paint or wood finish for aesthetics
- Hardware (screws, nails, etc.)
- Tools (drill, saw, level, tape measure, etc.)
Step-by-Step Guide on How to Build a Built-In Wardrobe
Now that you have your materials and plan in place, it's time to start building. Follow these steps:
Step 1: Preparing the Area
Clear the space where you will be installing the wardrobe. Make sure the area is clean and free of debris.
Step 2: Building the Frame
- Using the measurements from your design, cut the plywood or MDF to form the sides, top, and bottom of the wardrobe.
- Assemble the frame by joining the pieces together using screws. Make sure it's level and square.
Step 3: Installing the Back Panel
The back panel provides structural integrity. Attach it to the frame using screws or nails, ensuring it sits flush with the sides.
Step 4: Adding Shelves
Install brackets at predetermined heights for your shelves. Make sure they're level and securely attached.
Step 5: Installing Hanging Rods
Determine the height for your hanging rods, typically around 60 inches from the floor. Secure the rods using brackets at both ends.
Step 6: Adding Drawers (Optional)
If your design includes drawers, measure and cut the components. Assemble the drawer boxes and install them on the slides.
Step 7: Finishing Touches
Sand the surfaces to smooth out any rough edges. Then, paint or finish as desired. Adding a coat of wood finish can help protect your wardrobe.
Accessorizing Your Built-In Wardrobe
Once your wardrobe is built, it’s time to personalize it with accessories:
- Lighting: Consider adding LED lights to brighten the interior.
- Organizers: Use organizers for shoes, ties, or other accessories.
- Mirrors: A full-length mirror can enhance functionality while creating a more spacious feel.
Maintenance Tips
After investing time and effort in building your wardrobe, it’s essential to maintain it:
- Regularly reorganize the closet to maximize space.
- Dust and clean shelves and surfaces to avoid dust buildup.
- Check for any loose screws or components and tighten them as needed.
Conclusion
Creating a built-in wardrobe is an excellent way to enhance both the functionality and aesthetics of your space. With careful planning and execution, you can build a wardrobe that meets your storage needs while adding a unique touch to your home. Follow the steps outlined in this guide, and you'll be well on your way to enjoying a personalized and organized closet space.
"A well-designed wardrobe not only offers storage but creates a sense of harmony and balance in your home." - Interior Design Expert
By Guest, Published on August 8th, 2024