How to build a computer
Building Your Own Computer: A Step-by-Step Guide
Embarking on the journey of how to build a computer can be an exciting and rewarding experience. Whether you are a tech enthusiast, gamer, or just looking to save money, creating a custom computer allows you to select components that fit your exact needs. This guide will walk you through the entire process, ensuring you make informed decisions every step of the way.
Why Build Your Own Computer?
Before diving into the specifics of how to build a computer, let’s explore some compelling reasons why you might want to take this route:
- Customization: Tailor the system to your specific needs, whether for gaming, video editing, or general productivity.
- Cost-Effectiveness: Building your own computer can be more economical than buying pre-built systems.
- Upgradability: You control the components, making future upgrades easier and more cost-effective.
- Learning Experience: Gain valuable knowledge about computer hardware and how everything works together.
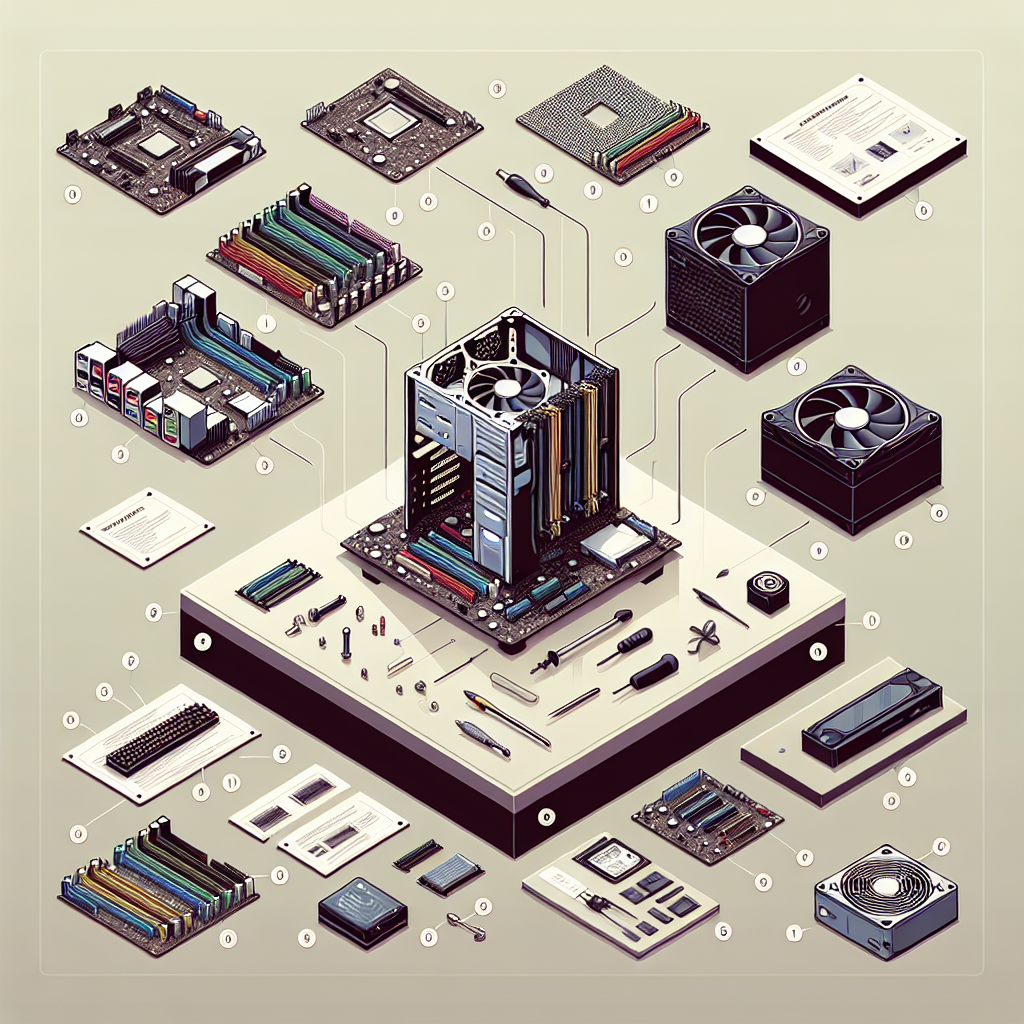
Essential Components Needed for Your Build
Understanding the main components required to build a computer is crucial. Here’s a breakdown of the essential parts you'll need:
- Central Processing Unit (CPU): The brain of your computer, responsible for executing instructions.
- Motherboard: The main circuit board that connects all components and allows communication between them.
- Random Access Memory (RAM): Temporary data storage that your CPU uses to perform tasks efficiently.
- Storage (HDD/SSD): Where your operating system, software, and files are stored. SSDs are faster but usually more expensive.
- Power Supply Unit (PSU): Converts electricity from an outlet into usable power for your computer components.
- Graphics Card (GPU): Essential for gaming and graphic-intensive applications. Some CPUs come with integrated graphics for less demanding tasks.
- Computer Case: The enclosure that houses and protects all your components.
- Cooling System: Keeps your CPU and other components at optimal temperatures, either via fans or liquid cooling solutions.
- Operating System: Software that will run on your computer (e.g., Windows, Linux).
Gathering the Tools You Will Need
To make your building process smoother, gather the necessary tools before you start. Here is a list of some essential tools:
- Philips head screwdriver
- Anti-static wrist strap (to prevent static damage to your components)
- Cable ties (for organizing cables)
- Thermal paste (if not included with your CPU cooler)
- Scissors (for cutting cable ties)
- Flashlight (if you're working in a darker area)
Step-by-Step Guide to Building Your Computer
Now, let’s delve into the process of how to build your computer step-by-step:
Step 1: Prepare Your Workspace
Choose a clean, flat surface to work on. Ensure you have good lighting and enough space to lay out all your components. It’s essential to keep everything organized.
Step 2: Install the CPU
Start by installing the CPU on the motherboard:
- Open the CPU socket lever.
- Align the CPU with the socket (look for a small triangle on one corner of the CPU and the socket).
- Gently place it into the socket and close the lever.
- Apply thermal paste if necessary (a pea-sized amount is sufficient).
Step 3: Mount the CPU Cooler
Install the CPU cooler according to the manufacturer's instructions. Ensure it makes good contact with the CPU for effective heat dissipation.
Step 4: Install RAM Modules
Look for the RAM slots on your motherboard:
- Open the retaining clips on the slots.
- Align the notch on the RAM stick with the slot.
- Press down firmly until the clips lock into place.
Step 5: Prepare the Case
Remove the side panels of your case, and organize the standoffs according to your motherboard's layout. These standoffs will prevent the motherboard from touching the case directly.
Step 6: Install the Motherboard
Carefully place the motherboard inside the case and secure it with screws. Ensure that the I/O ports align with the back of the case.
Step 7: Install the Power Supply
Position the power supply unit in its designated area in the case and secure it with screws. Route the necessary cables towards the motherboard and other components.
Step 8: Install Storage Drives
Depending on your case, install your SSDs or HDDs into their respective bays. Secure them with screws, and connect them to the motherboard using SATA cables (for HDDs/SSDs) and the power supply.
Step 9: Install the Graphics Card
If your build includes a dedicated GPU, install it now:
- Locate the PCIe slot on the motherboard.
- Remove any necessary expansion slot covers from the case.
- Align the GPU with the PCIe slot and press down firmly until it clicks into place.
- Secure it with screws and connect any power cables if required.
Step 10: Connect All Cables
Carefully connect all power cables from the PSU to other components, including:
- Motherboard (24-pin and 8-pin, if applicable)
- CPU cooler (if applicable)
- Graphics card (if applicable)
- Storage drives (SATA power cables).
Step 11: Final Checks and Closing the Case
Double-check all connections, ensuring everything is firmly in place. Once confirmed, close the case, securing it with screws. Make sure all cables are appropriately managed to avoid obstruction.
First Boot: Setting Up Your Computer
After assembling everything, it’s time to power your computer up:
- Connect your monitor, keyboard, and mouse.
- Power on the PSU switch (if applicable).
- Press the power button on the case to initiate the first boot.
If everything is connected correctly, you should see the BIOS screen. From here, you can adjust settings or simply proceed to install your operating system.
Step 12: Install the Operating System
Follow these steps to install your chosen operating system:
- Insert the installation medium (USB or DVD).
- Restart the computer and access the boot menu (often F12 or DEL).
- Select the installation medium and follow the on-screen instructions.
Troubleshooting Your Build
It’s normal to encounter some issues when first booting your computer. Here are some common troubleshooting tips:
- Check all power connections if the computer doesn’t power on.
- Ensure RAM sticks are fully seated and properly installed.
- Verify that the CPU cooler is correctly mounted and powered.
- Consult the motherboard manual to ensure correct jumper settings.
Conclusion: Enjoy Your Custom Build
Building your own computer can be a daunting task, but the satisfaction of a successful build and the performance of a tailored system is worth the effort. This detailed guide on how to build a computer should empower you to take on the challenge confidently. Embrace the learning experience and enjoy the journey of your custom creation!
``` This HTML structure includes all the necessary tags as instructed while providing a comprehensive guide on building a computer tailored to your specifications.By Guest, Published on October 5th, 2024