How to build a mantel
How to Build a Mantel: A Comprehensive Guide
Building a mantel can be a rewarding DIY project that adds character and style to any room, particularly above a fireplace. A mantel serves not only as a functional element but also as a stunning focal point in your home. Whether you are looking to enhance your existing fireplace or starting from scratch, this guide will walk you through the essential steps to create a beautiful mantel that suits your personal style. Let's get started!
Understanding the Basics of Mantels
Before diving into the construction process, it's important to understand what a mantel is and its components. A mantel is typically a shelf above the fireplace and can be made from various materials, including wood, stone, or metal. It often involves several parts:
- Fireplace Surround: The structure surrounding the fireplace which can be made from brick, tile, or other materials.
- Mantelshelf: The upper shelf that is used for displaying decorative items.
- Corbels: Decorative brackets that support the mantel shelf.
- Trim: Additional details that can enhance the overall look of the mantel.
Choosing the Right Style
When learning how to build a mantel, one of the first decisions you'll need to make is the style that best fits your home's aesthetic. Here are popular styles to consider:
- Traditional: Characterized by intricate details and classic designs, often made of rich woods.
- Modern: Clean lines and minimalistic design, typically featuring painted or stained wood.
- Rustic: Often made from reclaimed wood or logs, embracing a natural, unfinished look.
- Industrial: A combination of metal and wood, with a raw, unfinished appearance.
Take the time to research and choose a style that aligns with your overall home decor. This decision will not only impact the design but also the materials you'll need.
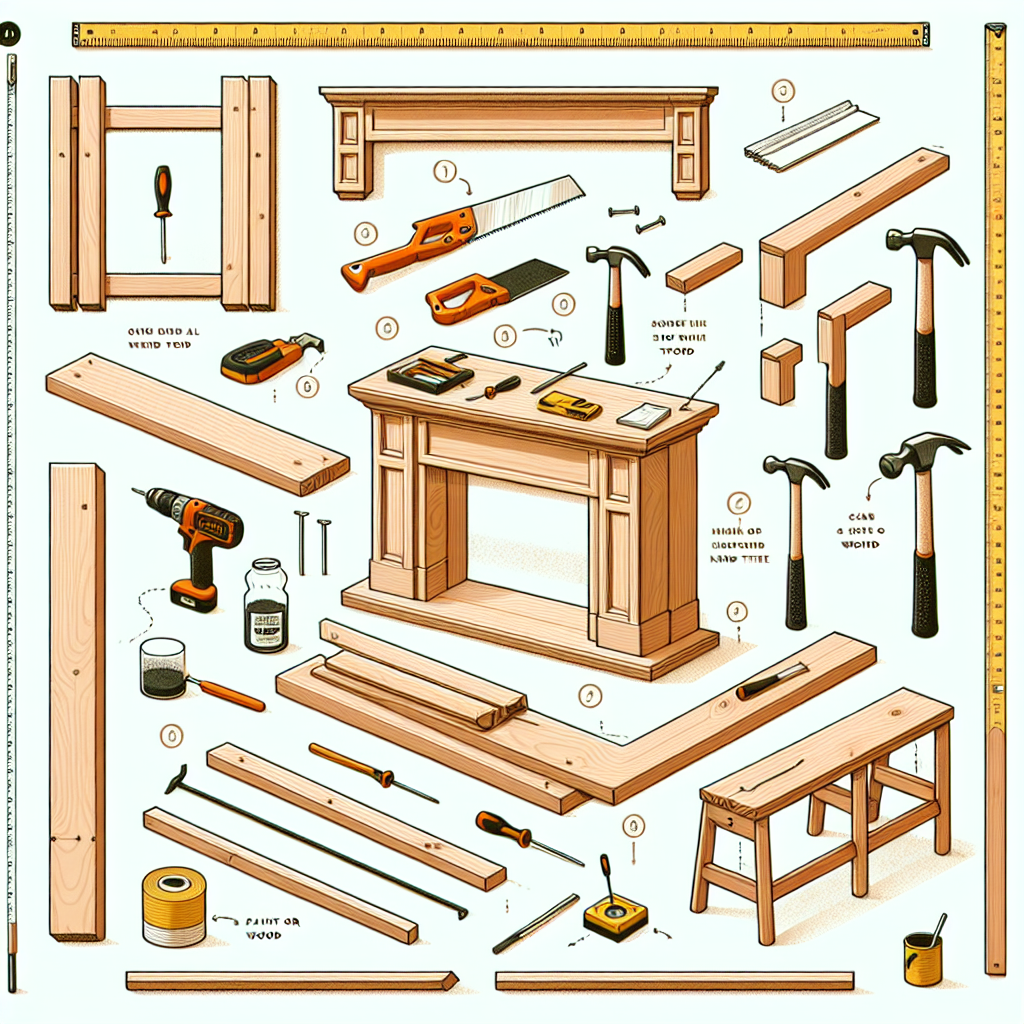
Gathering Materials and Tools
The next step in the process is to gather all the necessary materials and tools. Below is a list of what you'll typically need to build a mantel:
Materials
- Wood (Oak, Pine, or MDF)
- Wood screws or nails
- Wood glue
- Paint or stain (if desired)
- Finish (polyurethane or lacquer)
Tools
- Measuring tape
- Power saw (miter saw or circular saw)
- Drill
- Level
- Sandpaper
- Stud finder
- Paintbrush or roller
Make sure to acquire all your materials and tools before starting the construction process, as it can save you time and frustration later on.
Measuring and Planning Your Mantel
A key step in how to build a mantel effectively is to create a solid plan for the size and design. Here's a step-by-step guide:
1. Measure Your Space
- Measure the width of the fireplace.
- Decide how far you want the mantel to extend beyond the sides of the fireplace (typically 6-12 inches).
- Determine the overall height you would like your mantel to be from the floor (usually between 54-60 inches).
- Consider the desired depth of your mantel (typically 6-10 inches is common).
2. Sketch the Design
Using your measurements, draw a sketch of how you want your mantel to look. Include details such as the shape of the shelf and any corbels or trim you wish to add. This visual reference will ensure you can visualize your final product and also assist in the material list construction.
Constructing the Mantel
Now that you have your plan in place, it’s time to start building. Follow these steps for a successful construction process:
1. Cut the Wood
- Using your measurements, cut the wood for the mantel shelf and the corbels.
- Sand all edges smoothly to avoid splinters and make it easier to paint or stain.
2. Assemble the Mantel
Start by attaching the corbels to the wall using wood screws. Then, attach the mantel shelf on top of the corbels. Ensure everything sits level using a level tool. Use wood glue for extra stability.
3. Finish the Surface
Once assembled, apply paint or stain to your mantel. Allow adequate drying time based on the manufacturer's instructions. Follow with a protective finish like polyurethane to enhance durability.
4. Secure It in Place
After finishing, it's essential to securely attach the mantel to the wall. Use a stud finder to locate wall studs, ensuring you fasten your mantel to a solid foundation. This will ensure it can support weight from decorative items you place on top.
Decorating Your Mantel
Once your mantel is built and secured, it's time to decorate! A well-styled mantel can create a beautiful focal point in your living space. Here are some tips for decorating:
- Layering: Incorporate depth and dimension by layering various decorative items.
- Seasonal Decor: Change decorations seasonally to keep the look fresh.
- Personal Touch: Add family photos, art pieces, or mementos that reflect your personality.
- Balance: Ensure visual balance by arranging items in groups of odd numbers, leaving space for clustering.
Common Mistakes to Avoid
To ensure your project is a success, it’s important to avoid common pitfalls. Here are mistakes to watch out for:
- Not measuring correctly, leading to uneven proportions.
- Overloading the mantel with too many items, making it look cluttered.
- Choosing finishes that don’t match your existing decor.
- Neglecting safety precautions while working with power tools.
Conclusion
Learning how to build a mantel can transform the look of your home and provide a great opportunity for creative expression. By understanding the fundamentals, planning your project thoroughly, gathering appropriate materials, and taking your time during construction, you can create a stunning mantel that becomes a cherished feature in your home.
Don’t forget to personalize your mantel with decorations that resonate with you. Enjoy the process, and happy building!
By Guest, Published on September 28th, 2024