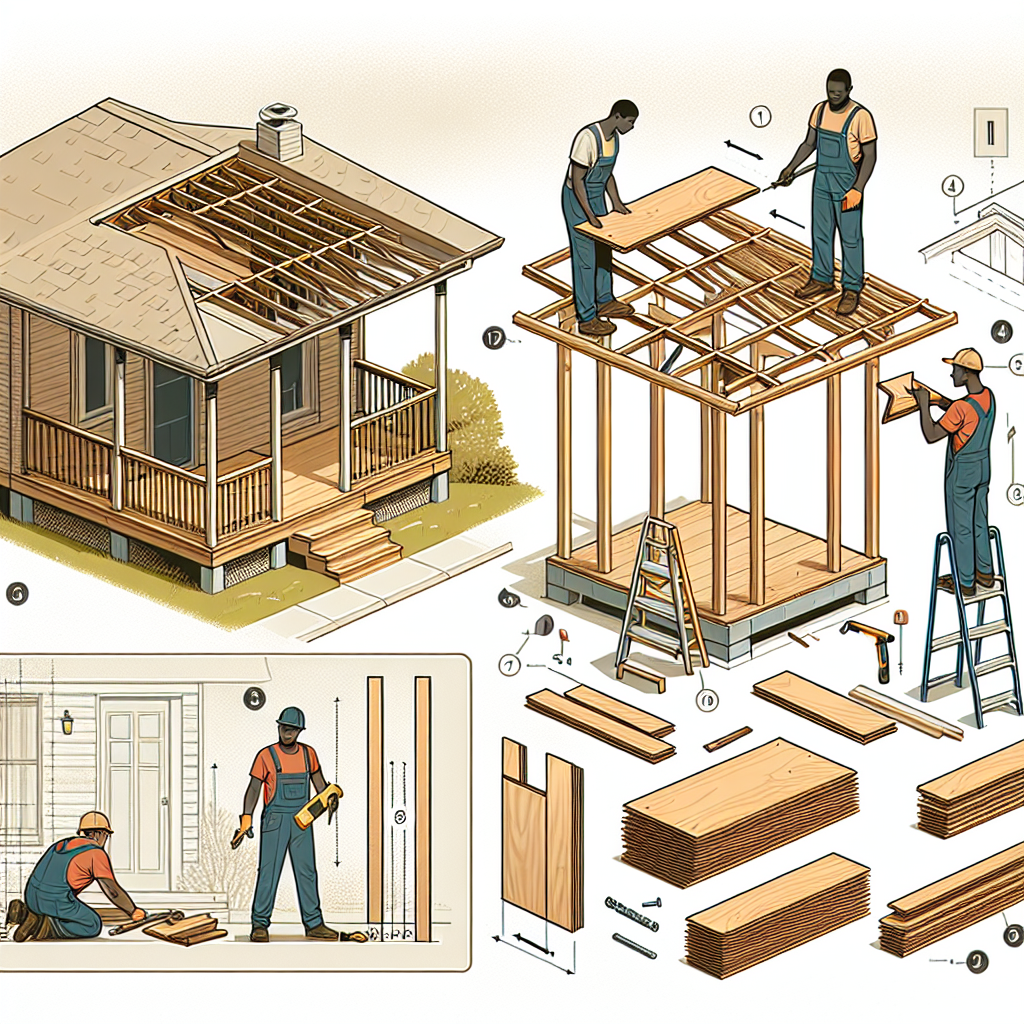
How to build a porch roof
How to Build a Porch Roof: A Comprehensive Guide
Building a porch roof can enhance the aesthetic appeal of your home while providing protection from the elements. Whether you want to create a cozy space for relaxation or simply add value to your property, understanding the steps involved is crucial. In this article, we will navigate through the essential factors to consider and the process of constructing a porch roof. You'll come away with practical knowledge to tackle this project yourself, or at least be well-informed when hiring a professional.
Why Do You Need a Porch Roof?
A porch roof not only serves aesthetic purposes but also provides functional benefits. Here are some compelling reasons to consider:
- Protection from the elements: A porch roof shields against rain, snow, and intense sunlight, allowing for comfortable outdoor use.
- Enhanced curb appeal: A well-designed porch roof can significantly enhance the exterior look of your home.
- Increased property value: Investing in a porch roof can lead to an increase in the market value of your property.
- Extended living space: A covered porch can be transformed into a functional living area, suitable for entertaining or relaxation.
Assessing Your Needs and Regulations
Before embarking on the journey of building a porch roof, it’s important to assess your needs and check local regulations.
- Identify the purpose: Think about how you plan to use your porch. Should it be a full enclosure, or simply a cover for the entrance?
- Check local building codes: Familiarize yourself with any zoning laws or permits needed in your area.
- Determine the design: Consider various styles and materials. Will it be flat, gabled, or shed type? And what materials (wood, metal, etc.) will work best with your home?
Materials Needed for Your Porch Roof
After assessing your needs, it’s time to gather the right materials. Here’s a list of what you may need:
- Roofing material: Shingles, metal sheets, or tiles.
- Framing material: Treated lumber, rafters, and support beams.
- Fasteners: Nails, screws, and brackets for securing materials.
- Flashing: To prevent water leaks where the roof meets the house.
- Waterproof underlayment: For additional protection against moisture.
- Tools: Saw, drill, measuring tape, level, and safety gear.
Step-by-Step Guide to Building a Porch Roof
Now that you have everything you need, let’s break down the process into manageable steps.
Step 1: Preparing the Site
Start by preparing the area where your porch roof will be constructed. Ensure that the ground is level, and clear away debris.
Step 2: Framing the Structure
The framing is the backbone of your porch roof. Follow these sub-steps:
- Measure and cut the support beams: Use treated lumber for durability.
- Establish the height: Decide how high you want the roof to be and mark this height on the walls of your house.
- Install support posts: Set them in concrete footings for stability.
"A solid foundation is essential for any successful construction project." - An architect's perspective
Step 3: Installing Rafters
Rafters support the roofing material, so it's important to install them correctly:
- Calculate spacing: Rafters are usually spaced 16 to 24 inches apart.
- Cut the rafters: Make sure they extend over the edge of the porch for added runoff.
- Secure the rafters: Fasten them to the top plate of your framing.
Step 4: Adding the Roof Sheathing
The roof sheathing provides a base for your roofing material:
- Lay plywood sheets: Use ¾ inch thick plywood or oriented strand board (OSB).
- Secure with nails: Make sure they are adequately fastened to the rafters.
Step 5: Installing Roofing Material
Choosing the right roofing material is essential for longevity:
- Roll out waterproof underlayment: This adds an extra layer of moisture protection.
- Install roofing material: If using shingles, start from the bottom and work your way up. For metal, follow specific installation guidelines.
Step 6: Flashing and Finishing Touches
Preventing leaks is vital in roofing:
- Install flashing: This should be done around areas where the roof meets the house or other structures.
- Seal edges: Caulk any seams to deter water penetration.
- Finishing touches: Install gutters if needed, and paint or stain exposed wood for a polished look.
Maintenance Tips for Your Porch Roof
Once your porch roof is complete, regular maintenance will ensure its longevity:
- Inspect for damage or leaks at least twice a year.
- Keep gutters clear of debris to prevent water pooling.
- Check the flashing periodically and reseal as necessary.
- Clean roofing material as recommended by the manufacturer.
Conclusion
With proper planning, materials, and execution, building a porch roof can be a rewarding project. Understanding how to build a porch roof allows you to create an inviting outdoor space that is functional and beautiful. From protecting your home to enhancing your living area, a porch roof has many benefits. Take the time to assess your needs, respect local regulations, and invest effort into each step of the process. You'll create a valuable addition to your home that can be enjoyed for years to come.
Remember, if you're unsure or uncomfortable with any part of the process, consulting a professional can save you time and potential headaches. Happy building!
By Guest, Published on October 25th, 2024