How to build a ramp for a shed
Introduction
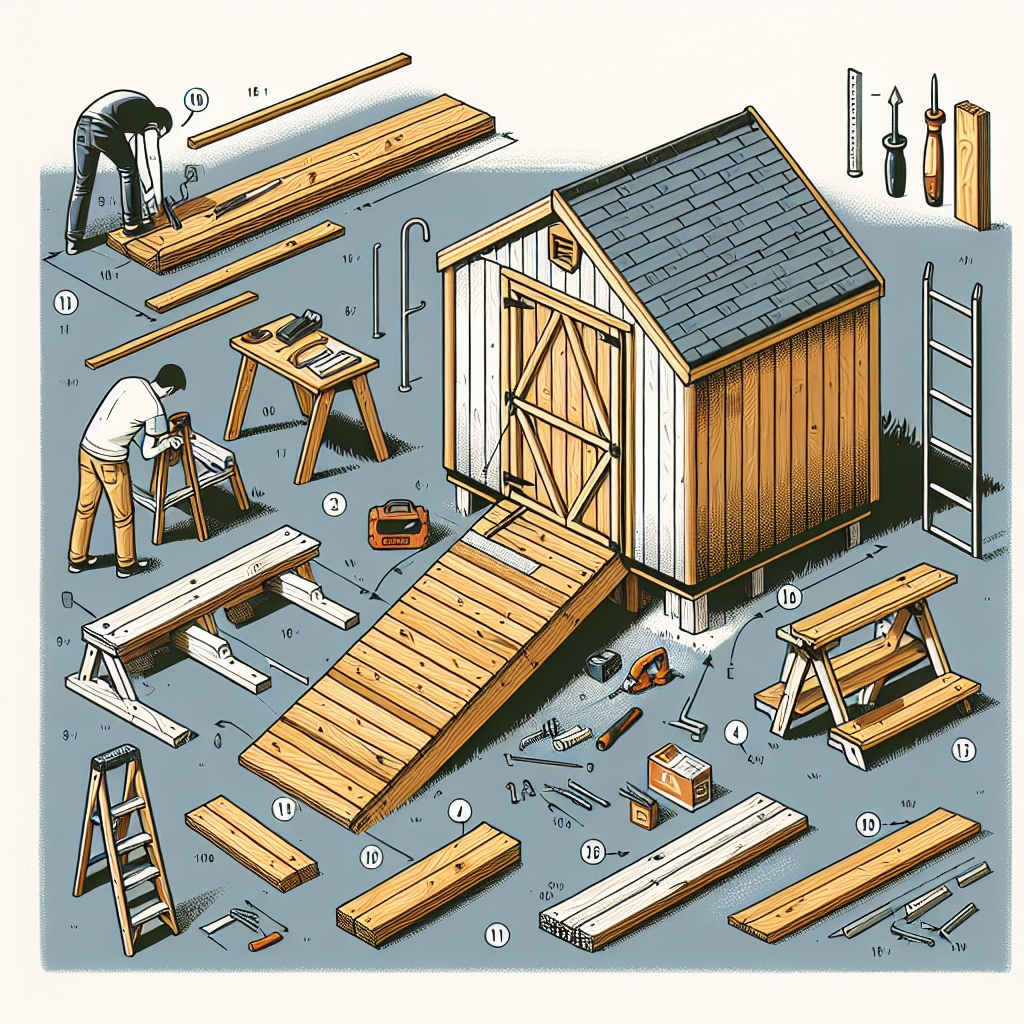
Building a ramp for your shed can be a practical and rewarding project, especially if you frequently need to move equipment or supplies in and out. A well-constructed ramp not only enhances the accessibility of your shed but also ensures the safety of your movements. In this article, we’ll guide you through the essential steps of constructing a ramp tailored to your needs, along with the materials you will require and some design considerations to keep in mind.
Why You Might Need a Ramp for Your Shed
Before diving into the construction details, it’s essential to understand the benefits of having a ramp for your shed:
- Accessibility: A ramp provides easy access for individuals with mobility challenges or when carrying heavy items.
- Convenience: It makes loading and unloading equipment much easier, saving time and effort.
- Protection: Prevents damage to your shed floor from dragging heavy items.
Materials Needed for Your Ramp
Gathering the right materials is crucial for building a durable and functional ramp. Here’s a list of what you’ll need:
- Pressure-treated lumber or composite decking for the ramp surface
- 2x4 or 2x6 boards for frame and support
- Wood screws or nails
- Wood glue (optional, but recommended for added strength)
- Concrete mix (if you plan to secure the ramp’s base)
- Decking wheels or non-slip tape (for enhanced traction)
Planning Your Ramp: Design and Size
When considering how to build a ramp for a shed, planning is a crucial first step. Here are a few factors to contemplate:
Ramp Dimensions
Determine the height of the shed floor to decide the length of the ramp. For optimal usability, the slope ratio should be around 1:12 for wheelchairs or 1:8 for hand trucks and similar equipment. This means that for every inch of height, there should be at least 12 inches of ramp length.
Design Considerations
Keep in mind the following design aspects:
- Width: Make sure the ramp is wide enough for your equipment. A minimum of 36 inches is recommended.
- Material: Choose a material that can withstand the climate and is slip-resistant when wet.
- Support: The ramp must be structurally sound; consider adding support beams for stability.
How to Build Your Ramp for the Shed
Once you have your materials and design ready, follow these steps to build your ramp:
Step 1: Measure the Height
Start by measuring the height from the ground to the threshold of the shed to determine the necessary ramp length.
Step 2: Cut Your Lumber
Based on your measurements and chosen design, cut the pressure-treated lumber to the required length for the decking and support frame.
Step 3: Create the Frame
Construct the ramp frame by attaching the vertical supports to the horizontal supports. Use strong wood screws or nails to secure the frame properly. This frame will ensure the ramp is sturdy enough to handle weight.
Step 4: Add the Decking
Attach your decking material to the frame, ensuring that they are evenly spaced and securely fastened. Make sure there are no protruding nails or screws that could cause injury.
Step 5: Secure the Ramp
Use concrete mix to anchor the bottom of the ramp if necessary. This will provide additional stability, especially in windy conditions.
Step 6: Finishing Touches
Add non-slip materials like textured paint or tape to improve traction. This is essential, especially in wet or icy conditions.
Maintenance Tips for Your Ramp
Once your ramp is complete, maintaining it is crucial to ensure it lasts for years to come. Here are some tips:
- Regular Inspection: Regularly check for signs of wear or damage.
- Cleaning: Keep the ramp clear of debris and ice in winter.
- Reapply Treatment: If using wood, consider applying a weather-proof sealant every couple of years.
Common Mistakes to Avoid
When learning how to build a ramp for a shed, it’s easy to overlook some details. Here are common pitfalls:
- Poor Measurements: Always double-check your measurements before cutting.
- Inadequate Support: Don’t skimp on supports; a ramp needs to be sturdy.
- Lack of Traction: Neglecting the importance of grip can lead to accidents.
Conclusion
Building a ramp for your shed is a manageable DIY project that can significantly enhance its functionality and accessibility. Whether you require it for personal mobility or for moving heavy materials, a well-built ramp can make all the difference. By following the outlined steps, focusing on the design and materials, and committing to maintenance, you can create a ramp that serves you well for many years. Happy building!
By Guest, Published on August 3rd, 2024