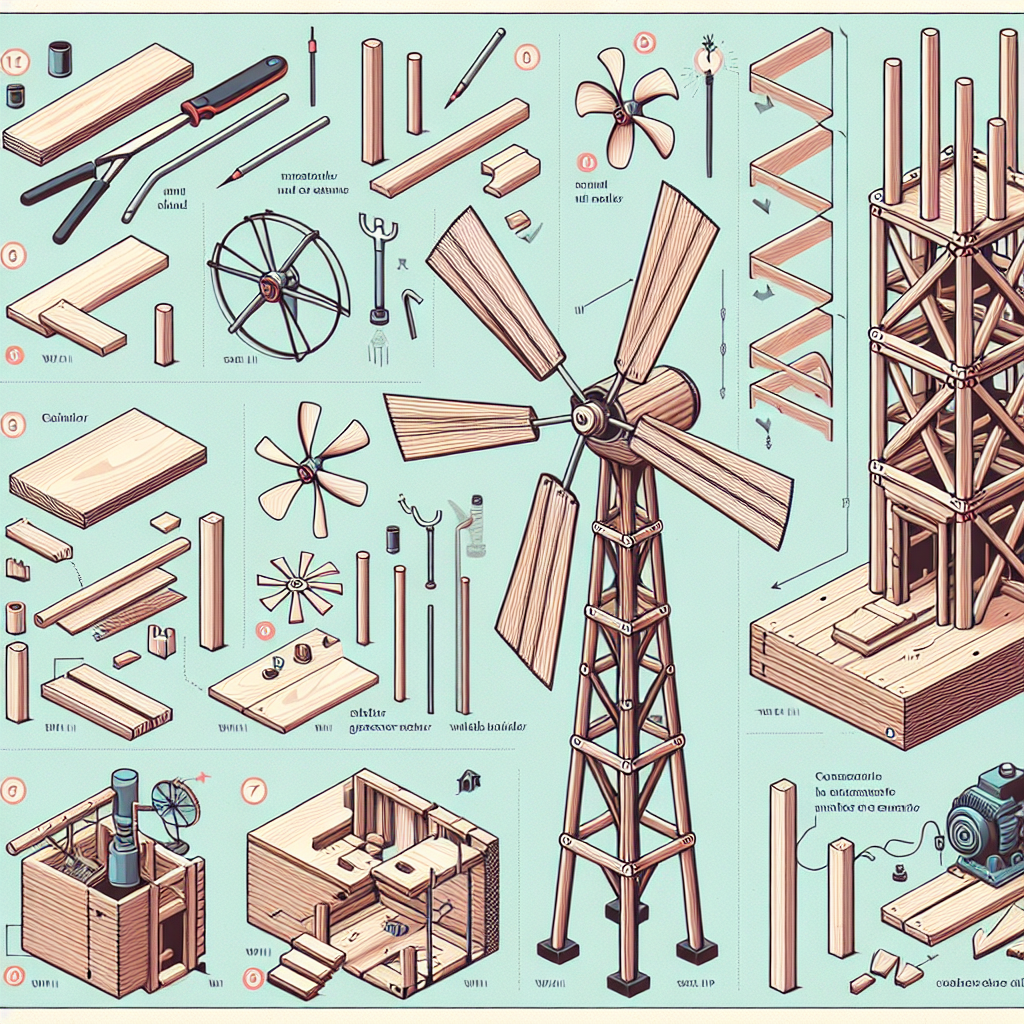
How to build a windmill
How to Build a Windmill: A Step-by-Step Guide
Building a windmill can be an exhilarating and rewarding project, whether for generating sustainable energy, creating a unique landscape feature, or simply as a fun DIY task. This article aims to guide you through the process, from understanding the components involved to the actual assembly of your very own windmill. You'll be amazed at how a simple structure can harness the power of wind.
Understanding the Basics of Windmills
Before diving into the construction, it’s essential to understand what a windmill is and how it operates. A windmill generally consists of a rotor, a tower, and the machinery needed for energy conversion. There are several different types of windmills, but the primary purpose is converting wind energy into mechanical energy, which can then be used to produce electricity or perform various tasks.
Materials Needed
To ensure you have a smooth building experience, gather all required materials beforehand. Below is a checklist of what you might need:
- Wood for the tower and rotor blades
- Plywood for the base
- Wind turbine generator kit (includes generator, charging controller, batteries)
- Nuts, bolts, and screws
- Paint for weatherproofing the windmill
- Rope or wire for securing the rotor
- Basic tools: saw, drill, hammer, and screwdriver
Planning and Designing Your Windmill
A well-thought-out design is crucial for an effective windmill. Here are some steps to help you plan:
- Determine the Purpose: Decide if your windmill will be for energy generation, decoration, or agriculture.
- Select the Type of Windmill: Choose between traditional post windmills and modern vertical or horizontal axis wind turbines.
- Sketch the Design: Create drawings to visualize size, shape, and rotating parts.
- Consider Local Regulations: Check for local laws regarding windmill construction and any permits necessary.
Step-by-Step Instructions on How to Build a Windmill
Once you have everything in place, it's time to move into the construction phase. Below is a comprehensive guide on how to build a windmill.
Step 1: Build the Base
The base serves as the foundation for your windmill. It needs to be sturdy enough to support the entire structure. Follow these steps:
- Cut the plywood into a round shape to form the base plate, approximately four feet in diameter.
- Secure the plates together using screws, ensuring the structure is stable.
- Lay concrete or place heavy stones around the edges to avoid any movement from wind.
Step 2: Construct the Tower
The tower is a critical component that supports the rotor and generator. Here’s how to build it:
- Cut wooden beams into equal lengths (approximately 8-10 feet) for a robust structure.
- Assemble the beams to form a square or triangular shape for added stability.
- Use bolts and screws to secure the structure, and make sure it’s vertical.
Step 3: Creating the Rotor Blades
Rotor blades are vital for capturing wind energy. Here’s how to create them:
- Cut five wooden pieces into elongated trapezoidal shapes (around 3-4 feet long).
- Attach them securely to a central hub using screws or bolts.
- Sand down the edges for aerodynamics to help the blades spin efficiently.
Step 4: Installation of the Generator
The generator converts the mechanical energy from the rotor into electrical energy. Here’s what you need to do:
- Mount the generator on top of the tower using brackets.
- Connect the rotor to the generator to ensure it spins together.
- Wire the generator to the charging controller and then to the batteries.
Step 5: Assemble the Windmill
Now that you have all the parts ready, it’s time to bring everything together:
- Secure the tower to the base using bolts.
- Attach the rotor assembly to the top of the tower.
- Ensure all connections are tight and secure, checking for any potential hazards.
Step 6: Final Touches and Weatherproofing
To ensure durability and longevity, take these final steps:
- Painting the windmill can help protect against the elements. Use weather-resistant paint.
- Seal any exposed wood with weatherproofing agent.
- Inspect regularly for loose components or wear and tear.
“The best time to plant a tree was twenty years ago. The second best time is now.” - Chinese Proverb
Maintenance of Your Windmill
Just like any other machinery, a windmill requires regular maintenance to function optimally. Here are some tips:
- Check the rotor and blades for any wear or damage.
- Ensure the generator is free from debris.
- Lubricate moving parts as needed.
- Examine connections and wiring for any signs of deterioration.
Benefits of Building Your Own Windmill
There are numerous benefits of constructing your own windmill, including:
- Renewable Energy: Reduce reliance on fossil fuels and contribute to a greener planet.
- Cost Savings: Generate your own electricity, leading to potential savings on energy bills.
- Educational Experience: Enhance your understanding of renewable energy systems.
- Personal Satisfaction: Experience the fulfillment of creating something functional and beautiful.
Common Challenges and Solutions
There are several challenges you may encounter when building your windmill:
- Insufficient Wind: Ensure your windmill is located in an area with consistent wind patterns.
- Budget Constraints: Look for local resources or second-hand materials to lower costs.
- Complexity of Construction: Don't hesitate to consult online guides or forums for assistance.
Conclusion
Constructing your own windmill is not only an enjoyable endeavor but also a significant step towards sustainability. As you make use of wind energy, you contribute to a healthier planet and challenge yourself to learn more about this fascinating technology. Follow the steps outlined in this guide and enjoy your journey into the world of wind energy.
By harnessing the wind’s natural power, you can experience the benefits firsthand and advocate for renewable energy. Don’t forget to share your experience and inspire others to embark on their own adventures in sustainable living!
By Guest, Published on August 7th, 2024