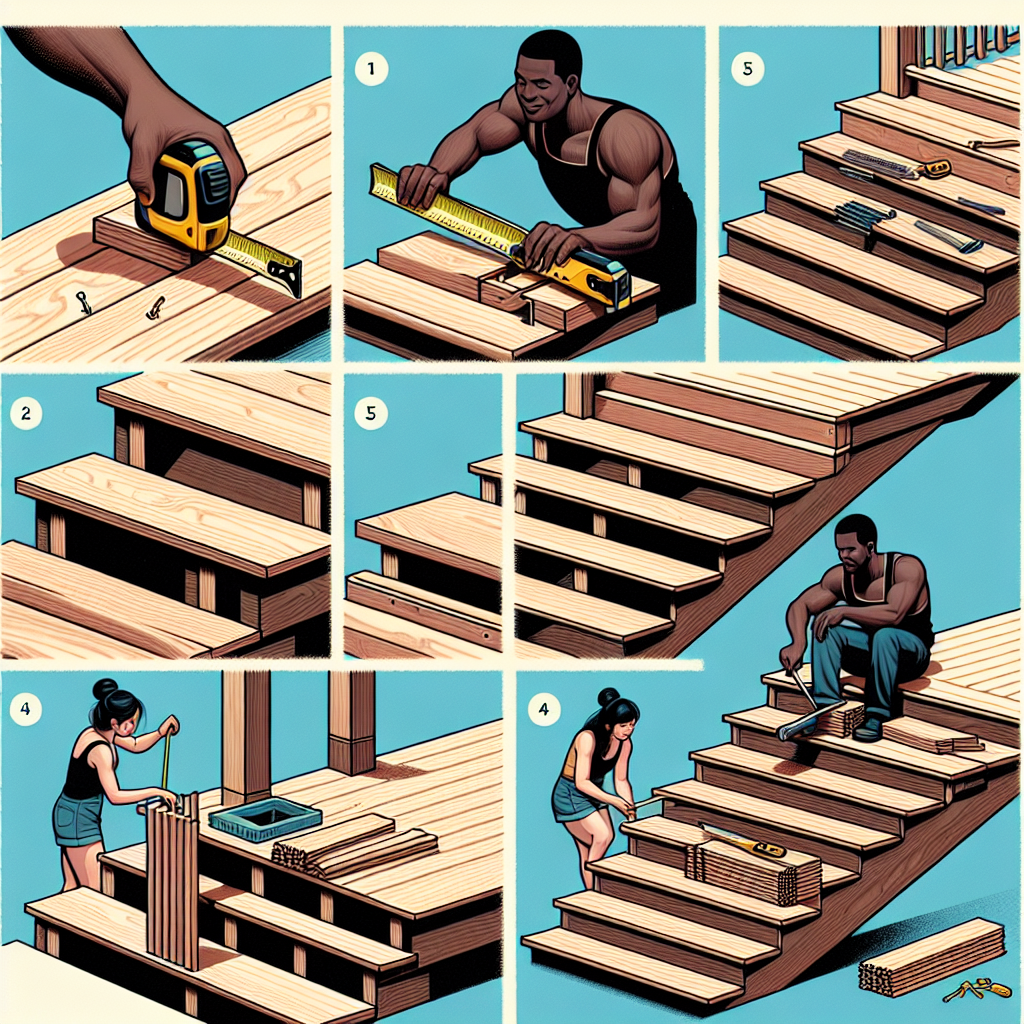
How to build deck stairs
How to Build Deck Stairs: A Comprehensive Guide
Building your own deck stairs can be a rewarding DIY project that increases both the functionality and aesthetic appeal of your outdoor space. Deck stairs serve as a crucial connection between different levels, ensuring safety and ease of access. This guide will take you step-by-step through the process of constructing sturdy and beautiful deck stairs, so you can enjoy your outdoor oasis with peace of mind.
Understanding the Basics of Deck Stairs
Before diving into the construction process, it’s important to familiarize yourself with the essential concepts that govern how to build deck stairs. Deck stairs are designed to provide safe passage, and several factors play an important role in their design:
- Rise and Run: The rise is the vertical height of each step, while the run is the horizontal depth. A standard rise is usually between 4 to 7 inches, and a comfortable run is around 10 to 12 inches.
- Number of Steps: The total number of steps will depend on the height of your deck. You can calculate this by dividing the total rise by the height of each rise.
- Material Selection: You can use various materials ranging from pressure-treated wood to composite materials. Choose one that complements your deck and is suited to the weather in your area.
Essential Tools and Materials
Before you start building, ensure you have the following tools and materials on hand:
Tools:- Measuring tape
- Level
- Saw (circular saw or miter saw)
- Drill
- Screwdriver
- Chalk line
- Hammer
- Safety goggles
- Square
- Pressure-treated wood or composite boards for treads and risers
- Concrete footings or deck stair brackets for support
- Stair stringers (preferably pre-cut to save time)
- Wood screws and/or nails
- Wood sealant (optional, but recommended for added durability)
Planning Your Deck Stairs
Effective planning is essential for a successful stair construction project. Follow these steps:
- Measure Height: Measure the distance from the ground to the top of your deck to determine how many total rises are needed.
- Decide on Stair Design: Choose a straight flight, L-shaped, or spiral design based on your space constraints and aesthetic preference.
- Check Local Building Codes: Be sure to check local regulations regarding dimensions, materials, and safety features like handrails before starting your project.
Building the Stair Stringers
The stair stringers form the backbone of your stairs and are crucial for stability. Here’s how to go about it:
- Mark the Cuts: Using a framing square, mark the rise and run on your stringer board. Each step should have an appropriate rise and run measurement.
- Cut the Stringers: Carefully cut along the marked lines using a circular saw. Make sure your cuts are straight; rough edges can be hazardous.
- Repeat: You will need at least two or three stringers, depending on the width of your stairs, for adequate support.
Installing the Stringers
Once your stringers are cut, the next step is to install them:
- Use a level to ensure the top of the stringers is even with the deck.
- Attach the stringers securely using deck screws, making sure they are correctly aligned to avoid any unnecessary wobbling.
- Spend time ensuring that stringers are equally spaced apart, typically around 16 inches on center.
Adding Treads and Risers
Now that your stringers are securely in place, it’s time to add the treads and risers:
- Install Risers: Begin by attaching the risers (the vertical piece) to each stringer. Use screws for a tight and durable fit.
- Add Treads: Place the treads (the horizontal part where you step) on top of the stringers. Ensure they overhang slightly for aesthetic appeal and to help with water drainage.
- Secure Treads: Fasten the treads down using screws to prevent them from lifting.
Ensuring Safety Features
A well-constructed staircase should provide safety as a priority. Here are some common safety features to consider:
- Handrails: If your stairs are higher than 30 inches, local building codes will likely require handrails. Install them on at least one side for stability.
- Non-Slip Surfaces: Consider applying a non-slip coating on the treads to prevent accidents, especially when wet.
- Lighting: Install lights at the top and bottom of your stairs for visibility during darker hours.
Finishing Touches
Once your stairs are installed, it’s time to add those finishing touches:
- Sealing and Staining: Protect your stairs from the elements by applying a sealant or stain designed for outdoor use.
- Landscaping: To integrate your new stairs into your existing outdoor space, consider adding plants or decorative stones around them.
- Cleaning: Regularly maintain and clean your stairs to keep them safe and looking brand new.
Troubleshooting Common Issues
As with any DIY project, you may face challenges when learning how to build deck stairs. Here are some common issues and quick fixes:
- Squeaky Stairs: If your stairs squeak, re-tighten the screws or apply a lubricant between the tread and stringer.
- Uneven Rise: Use a level to identify the uneven steps, and adjust them by modifying the riser height.
- Weather Damage: If your stairs show signs of wear, it’s essential to reapply sealant and address any loose screws promptly.
Conclusion
Building deck stairs may seem daunting, but with careful planning, the right tools, and a bit of knowledge, you can create a functional and attractive set of stairs that enhances your outdoor space. Follow the steps outlined in this guide for a successful project. Remember, safety comes first, so take all necessary precautions as you build. Enjoy your newly constructed deck stairs, and happy building!
By Guest, Published on September 20th, 2024