How to make a computer in minecraft
Introduction to Computers in Minecraft
Minecraft is not just a game about building and exploring; it is also a platform for creativity and innovation. One of the most intriguing projects players can engage in is crafting a computer within the game. This guide will take you through the steps to do just that, exploring the exciting world of redstone mechanics and logic gates. While it may seem daunting at first, creating a computer in Minecraft can be a fun and rewarding experience. Let’s dive into the process!
Understanding the Basics of Redstone
Before we get into the specifics of how to make a computer in Minecraft, it's essential to understand redstone—the primary material used in creating mechanisms and devices. Redstone can be obtained by mining redstone ore, and it serves as the electrical wiring for all your contraptions.
What is Redstone?
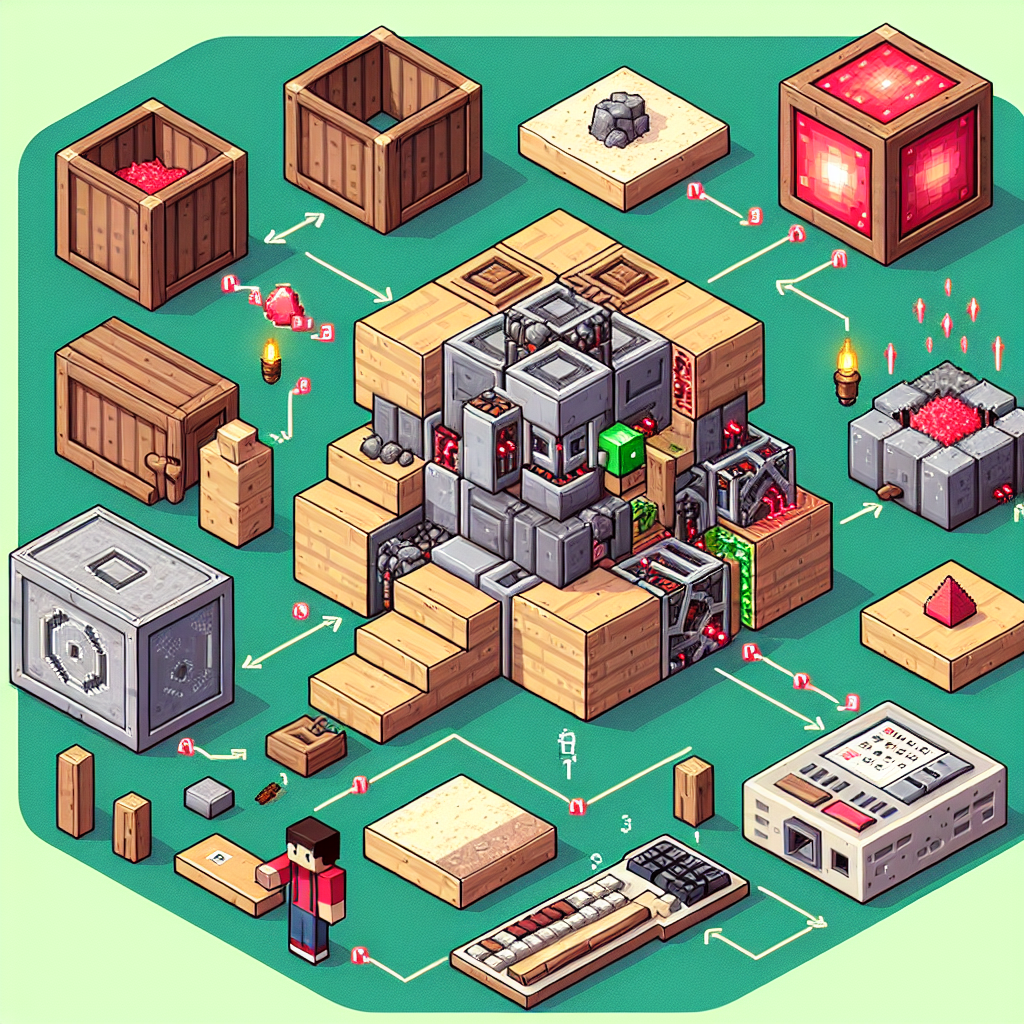
Redstone functions similarly to electrical wiring and allows players to create complex circuits. Here are some core components of redstone in Minecraft:
- Redstone Dust: Used to connect different components.
- Redstone Torches: A power source or inverter.
- Levers, Buttons, and Pressure Plates: Input methods to control devices.
- Pistons: For moving blocks in various ways.
- Repeaters: Used to extend the signal strength and delay.
Mastering these components is critical for anyone looking to build a functional computer in Minecraft. It is recommended to practice using them to create simple circuits before taking on larger projects.
Planning Your Computer Design
The first step in creating a computer in Minecraft is deciding what kind of computer you want to build. Simpler computers can perform basic calculations, while more complex designs can emulate real computing functions.
Choosing Your Type of Computer
Here are some types of computers you might consider building:
- Basic Calculator: Performs addition and subtraction.
- Binary Counter: Counts in binary numbers.
- Memory Unit: Remembers previous states with the use of flip-flops.
- Full-Scale Computer: Capable of executing complex commands and processes.
Sketching Your Design
Draw a rough layout of your computer. Consider where you’ll place your input devices (like levers and buttons), combination logic (AND, OR, NOT), output devices (such as lamps or note blocks), and how the redstone dust will connect everything.
“A good design is a blueprint for success. Take the time to plan, and you’ll save effort later!”
Building Your Computer
Once you have a design in mind, it's time to gather your materials and start building. Here are the general steps to follow when constructing your computer:
Materials Needed
Before you begin, gather the following resources:
- Redstone Dust
- Redstone Torches
- Pistons
- Repeaters
- Blocks (any solid block will work)
- Lamps or Note Blocks (for output)
- Levers, Buttons, or Pressure Plates (for input)
Constructing the Input Section
Your computer will need a way to receive data. For this, you can use levers or buttons. Create a simple mechanism where players can easily input their commands or data. Start by laying out the input devices in a designated area.
Building the Logic Gates
Logic gates are fundamental components that determine how inputs are processed. Here’s a quick overview of how to create basic logic gates:
- AND Gate: Requires two inputs; both must be active for the output to be active.
- OR Gate: Requires at least one input to be active for the output to be active.
- NOT Gate: Inverts the input signal—if the input is on, the output is off, and vice versa.
Once you have built the logic gates on your computer's layout, connect them using redstone dust based on your design.
Creating the Memory Unit
If you're aiming for a more advanced computer, you'll need a memory unit. This can be done using flip-flops to store on/off states. Here’s how to build a basic flip-flop:
- Place two redstone torches facing each other with a block in between.
- Connect output from each torch to a redstone dust line.
- Add levers on either side to change the state.
Testing Your Computer
After finishing your build, it's time to put it to the test. Flip your input switches and observe the output devices. Check for errors and make the necessary adjustments to ensure everything functions as intended.
Common Troubleshooting Tips
- Make sure all redstone dust paths are connected without gaps.
- Verify that each logic gate works independently first.
- Confirm that the power source (torches or levers) is correctly influencing the circuitry.
Advanced Features to Include
Once you have mastered the basics of creating a computer in Minecraft, consider adding advanced features. Some ideas include:
- Programmable Logic: Create sequences that can run automatically.
- Input Display: Use lamps to show the status of inputs clearly.
- Complex Calculations: Implement additional logic gates and memory cells for performing advanced operations.
Showcasing Your Computer
After perfecting your computer and adding features, it’s time to show off your creation. You can invite friends to see your work or even record a video demonstrating how to make a computer in Minecraft in action! Sharing your designs can inspire other players, and you may even pick up tips from the community on how to improve your build.
Learning Resources
If you're looking to deepen your knowledge of redstone mechanics, consider the following resources:
- Online Tutorials: YouTube has countless tutorials on creating more advanced computers and redstone contraptions.
- Community Forums: Join Minecraft forums and subreddit communities where players discuss redstone designs.
- In-Game Practice: Utilize creative mode to experiment freely with new ideas without worrying about resources.
Conclusion
Creating a computer in Minecraft may seem like a complex undertaking, but with patience and practice, you can develop incredible builds that showcase your creativity and technical skills. Start with simpler devices and gradually work your way up to more complex designs, using resources and tutorials available in the community for guidance. The possibilities are endless once you grasp the fundamentals of redstone and logic systems. Happy building!
```By Guest, Published on September 24th, 2024