How to make a desk
How to Design and Build Your Own Desk
Creating a personalized workspace can be a rewarding experience that enhances both productivity and creativity. A well-made desk serves as the heart of any workspace, whether it’s in a home office or a corner in a busy living room. This guide will explore the essential steps on how to make a desk that suits your style, needs, and budget. We’ll cover design considerations, materials, tools, and the assembly process in detail.
Why Build Your Own Desk?
There are several benefits to building your own desk:
- Customization: You can create a desk tailored to your specific requirements, such as size, height, and features.
- Cost-effective: DIY projects often save money compared to purchasing pre-made furniture.
- Quality control: You can choose high-quality materials and craftsmanship to ensure your desk lasts for years.
- Personal satisfaction: Completing a DIY project provides a sense of achievement and pride in your work.
Assessing Your Needs
Before diving into the construction process, it's important to determine your specific needs for the desk:
- Functionality: Will your desk accommodate a computer, multiple monitors, or specialized equipment?
- Space requirements: Measure the area where you plan to place your desk to ensure it fits well.
- Style preference: Decide on the overall style you want, whether it's modern, rustic, industrial, or minimalist.
- Storage options: Consider if you need drawers, shelves, or any other storage solutions.
Choosing Materials
Once you have a clear idea of your needs, the next step is selecting the right materials. Here are some common materials used in desk building:
- Wood: Plywood, hardwood, or reclaimed wood offer durability and aesthetics.
- Metal: Steel or aluminum can provide a modern industrial look and may be used for legs or frames.
- Laminate: A cost-effective alternative that mimics wood grain and is easy to clean.
- Glass: For a sleek, contemporary desk, consider using tempered glass for the surface.
Gathering Tools
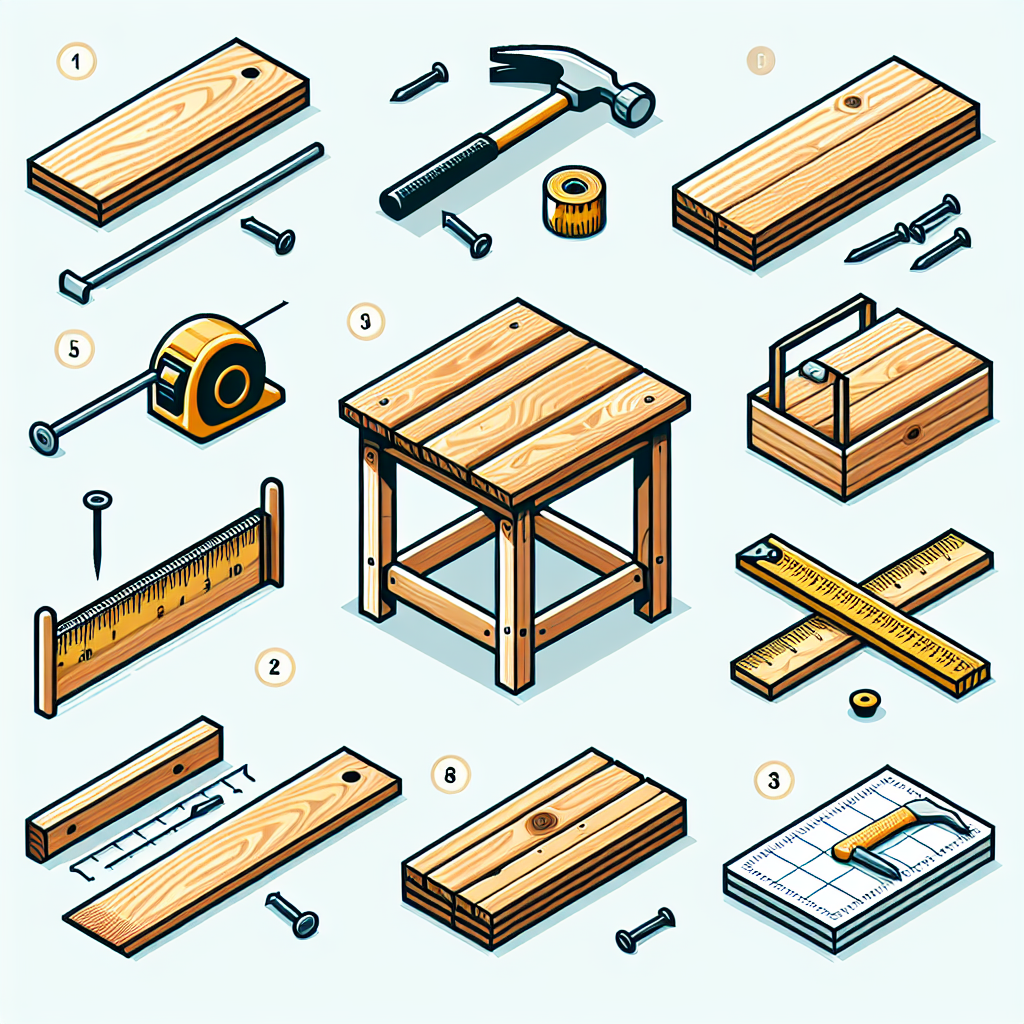
Having the right tools on hand is crucial in any DIY project. Here’s a list of essential tools you'll need:
- Pencil and measuring tape
- Level
- Drill and drill bits
- Saw (circular or table saw)
- Screwdriver
- Sandpaper or sander
- Wood glue
- Paint, stain, or finish (optional)
Designing Your Desk
With all the considerations above, it’s time to sketch out your desk design. Here are a few elements to think about:
- Dimensions: Start by deciding on the length, width, and height of your desk. Standard height is typically around 28-30 inches.
- Leg Style: Determine whether you prefer traditional legs, a pedestal, or a slab style.
- Surface style: Will you have a flat desk, tiered sections, or integrated shelving?
- Additional features: Incorporate features like cable management, built-in chargers, or adjustability if desired.
Construction Phase
Now that you have your design ready, it's time to head into the workshop!
Step 1: Preparing the Wood
Begin by cutting the wood according to your design dimensions. Use a saw and take great care to make straight cuts. For a polished look:
- Sand the edges and surfaces of the cut wood to eliminate any splinters.
- Apply a stain or paint to the wood if desired, and allow it to dry fully before assembly.
Step 2: Assembling the Frame
Construct the frame of the desk first, as this will support the entire structure. Follow these guidelines:
- Attach the legs to the underside of the desktop using screws and brackets for stability.
- If your design includes a lower shelf, ensure it is properly supported by additional legs or brackets.
- Use a level to confirm that everything is even before tightening screws.
Step 3: Attaching the Desktop
Once the frame is complete, you can attach the desktop:
- Center the surface on the frame.
- Secure it using screws, ensuring it’s firmly anchored.
Step 4: Finishing Touches
Once the desk is fully assembled, focus on final details:
- Sand any rough surfaces.
- Apply a protective finish to the desk surface to guard against spills and scratches.
- Add drawer handles or other decorative elements to match your style.
Additional Tips to Enhance Your Desk
With the basic desk completed, consider these tips to customize further and enhance your workspace:
- Lighting: Installing a desk lamp or surrounding your workspace with natural light can improve overall productivity.
- Ergonomics: Ensure that your desk height is suited to how you work to minimize strain. Consider an adjustable desk or a standing desk converter.
- Plants and Décor: Adding greenery or personal items can create a more inviting and inspiring atmosphere.
- Organization: Use organizers or drawer dividers to keep your workspace tidy and functional.
Maintenance for Longevity
Once you’ve decided how to make a desk that suits your needs, ongoing maintenance is key to ensuring its longevity:
- Regularly clean the surface to prevent dust accumulation.
- Check screws and fittings periodically to ensure everything remains secure.
- Reapply finish or treatment as necessary, particularly if the wood appears worn or faded.
Conclusion
Building your own desk can seem daunting, but with careful planning, the right materials, and a little creativity, you can create a beautiful and functional workspace that meets your needs. Whether you choose a simple design or go for something more elaborate, the satisfaction of a completed project and a desk tailored just for you will make the effort worth it. So roll up your sleeves, gather your tools, and get started on the desk of your dreams!
By Guest, Published on July 31st, 2024