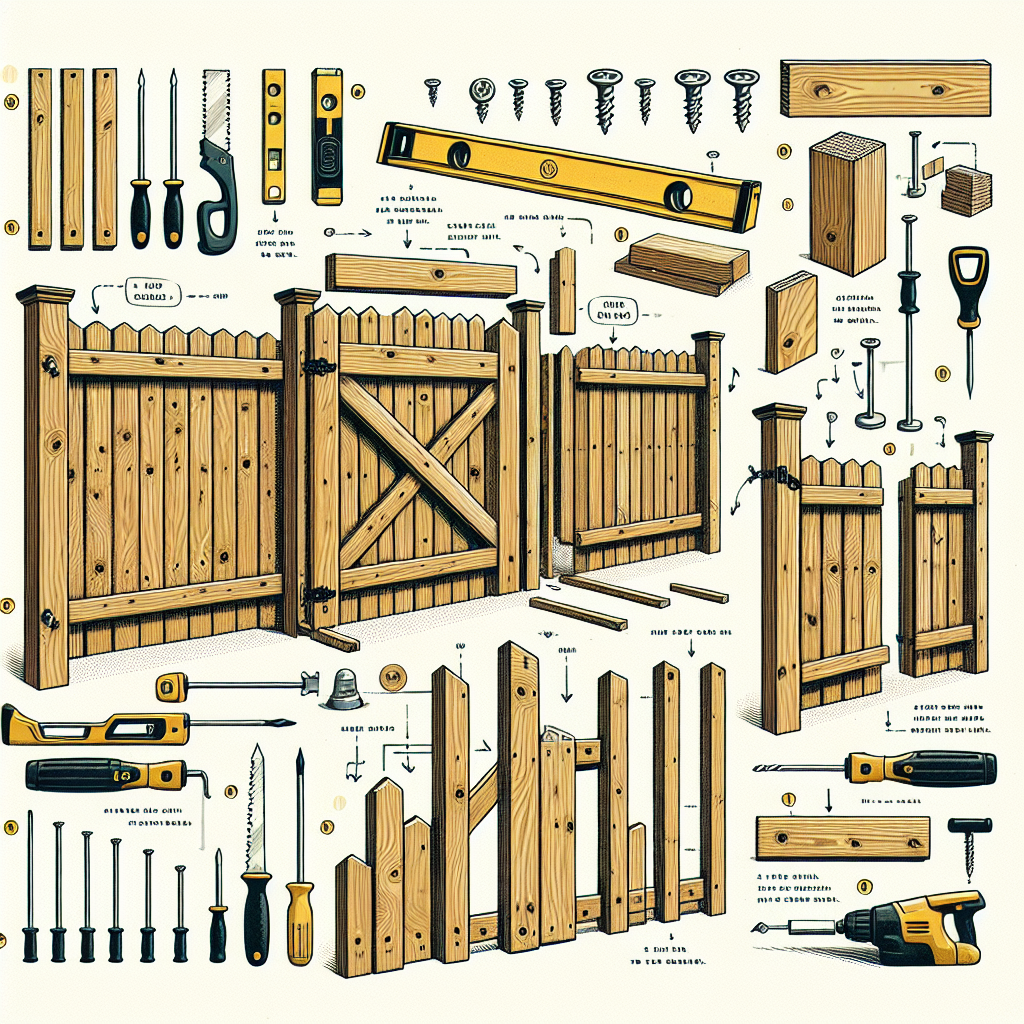
How to make a fence gate
Building the Perfect Fence Gate: A Complete Guide
When it comes to enhancing the security and aesthetics of your property, a well-built fence gate is essential. Not only does it provide a functional entrance, but it can also serve as a striking design element. Whether you’re looking to add value to your home or simply want to keep your pets safely contained, knowing **how to make a fence gate** can be a rewarding DIY project. In this guide, we’ll walk you through the steps of constructing a sturdy and attractive fence gate from scratch.
Choosing the Right Materials
The first step in any construction project is selecting the materials. The type of fence gate you create will largely depend on the materials you choose. Common materials for building a fence gate include:
- Wood - Traditional and charming, wooden gates can be customized easily.
- Vinyl - Durable and low-maintenance, vinyl gates come in various styles.
- Metal - Ideal for security, iron or aluminum gates provide strength and durability.
- Chain link - A cost-effective option, great for visibility but less privacy.
Planning Your Fence Gate
Before you start building, it’s crucial to plan your gate properly. Take some time to consider the following:
- Size: Measure the width and height of the opening where your gate will be installed.
- Style: Choose a design that complements your existing fence and landscape.
- Functionality: Consider how often the gate will be used and what features you need, like a latch or lock.
- Local regulations: Check with local authorities to ensure compliance with building codes.
Tools and Equipment You'll Need
Equipping yourself with the right tools will make the construction process smoother. Here’s a list of recommended tools for building your gate:
- Measuring tape
- Level
- Saw (circular or hand saw)
- Drill and drill bits
- Hammer
- Nails or screws
- Hinges
- Latch mechanism
- Sandpaper or a sander
- Paint or stain (if you’re using wood)
Step-by-Step Guide on How to Build a Fence Gate
Now that you have your materials and tools ready, let’s dive into the steps for building your fence gate.
Step 1: Measure and Cut the Materials
Accurate measurements are vital. Use the measuring tape to determine the desired size of your gate. Cut the wooden planks or chosen material accordingly. If you're using wood, you can opt for vertical or horizontal slats based on your preferred design.
Step 2: Assemble the Frame
Create a rectangular frame for your gate. Lay out the cut pieces on a flat surface and secure the corners using hinges or screws. Make sure the frame is square by measuring diagonally from corner to corner; both measurements should be equal.
Step 3: Attach the Slats
Attach wooden slats or panels to the frame. Space them evenly apart if using vertical slats, or lay them flat with a slight gap if you prefer that style. Use nails or screws to secure them in place. This will provide stability and durability to your gate.
Step 4: Sand and Finish
Once the structure is assembled, use sandpaper or a sander to smooth all surfaces. This step is particularly important for wooden gates, as it prevents splinters. After sanding, you can paint or stain the gate to enhance its appearance and add a protective layer against the elements.
Step 5: Attach Hinges
Determine which side the gate will swing open and attach the hinges accordingly to the frame. Position them about 6-12 inches from the top and bottom of the gate. Ensure that they are level, as this will affect how the gate swings.
Step 6: Install the Latch
Choose a latch that suits the design and function of your gate. Attach it securely to the side of the gate, ensuring it aligns properly with the post or fence to which it will lock. Test the latch multiple times to ensure it opens and closes smoothly.
Step 7: Hang the Gate
With assistance, lift the gate into position and secure the other side of the hinges to the fence or post. Use a level to check that the gate hangs straight. Make any minor adjustments needed to ensure proper alignment.
“A good gate is like a good friend; it keeps out trouble but lets in joy.”
Maintaining Your Fence Gate
After you’ve completed your gate, it’s essential to maintain it to ensure longevity. Here are a few maintenance tips:
- Regular Inspection: Check for any loose screws or damaged parts and fix them immediately.
- Cleaning: Periodically clean the gate to remove dirt and debris, especially if it’s wooden.
- Repainting/Staining: For wooden gates, touch-up paint or stain every few years to protect from weather damage.
- Lubricating Hinges: Apply lubricant to the hinges to prevent rust and ensure smooth operation.
Common Mistakes to Avoid
Making a fence gate may seem straightforward, but there are common pitfalls to watch out for:
- **Incorrect Measurements:** Double-check all measurements before making any cuts.
- **Poor Material Choice:** Select materials that fit your climate and security needs.
- **Ignoring Swing Direction:** Consider how the gate swings open before installation.
- **Overlooking Local Regulations:** Always check building codes for compliance.
Conclusion
Building a fence gate is a fulfilling endeavor that can enhance both the functionality and beauty of your property. Armed with the right tools, materials, and knowledge, you can create a durable gate that matches your style and needs. Follow this guide, and you’ll not only learn **how to make a fence gate**, but you’ll also develop skills that will serve you well in future DIY projects. Happy building!
By Guest, Published on October 19th, 2024