How to make a wooden box
Introduction to Crafting Wooden Boxes
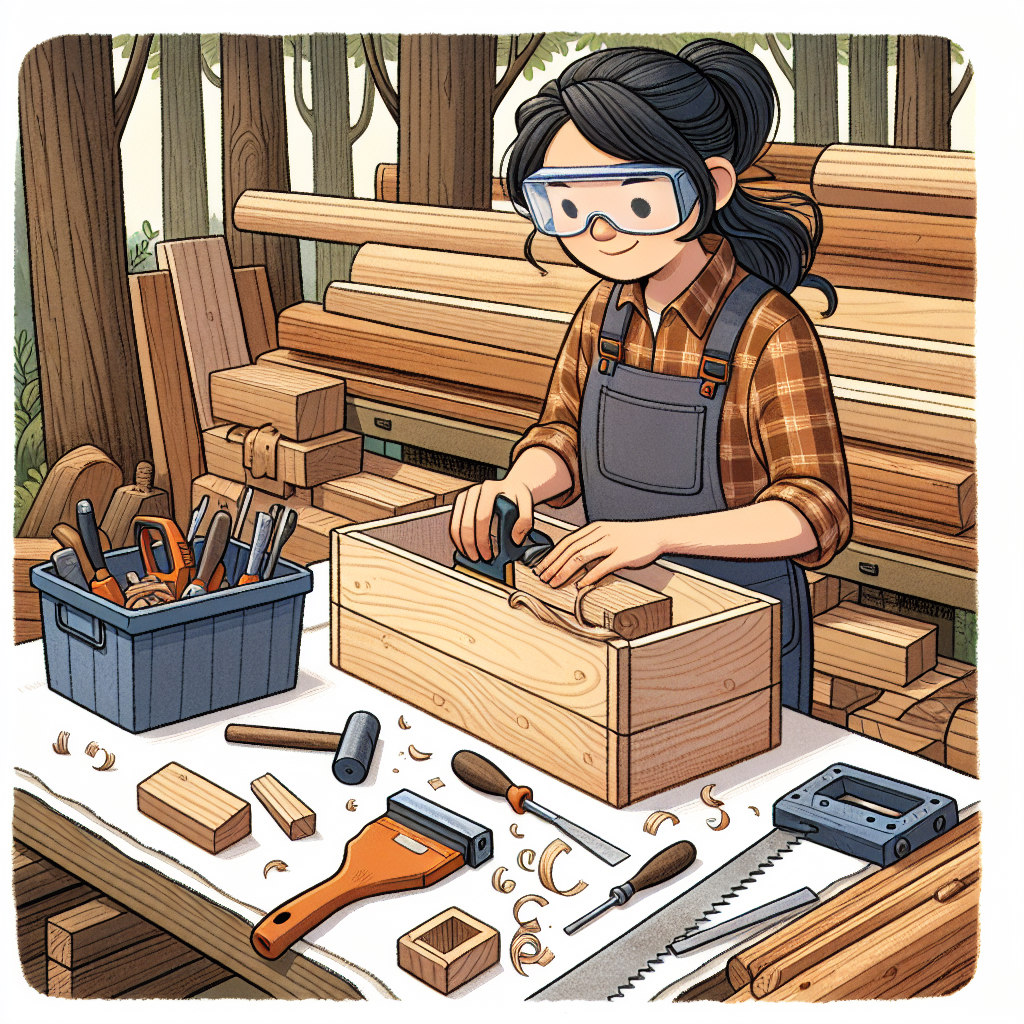
Woodworking is not just a practical skill, but also a rewarding hobby that allows you to express creativity through crafting unique items. One of the most enjoyable projects for both novice and experienced woodworkers is making a wooden box. The charm of a wooden box lies in its versatility; it can serve as storage, decoration, or even a gift. In this guide, we will explore the essential steps, materials, and techniques involved in creating your very own wooden box.
Materials Needed for Your Project
Before diving into the actual crafting process, it's crucial to gather the right materials. Here’s a comprehensive list of items you will need:
- Wood: Choose a type of wood suitable for your project (e.g., pine, oak, or birch).
- Wood glue: For joining pieces together securely.
- Wood screws: For additional support and durability.
- Plywood: Often used for the base or bottom of the box.
- Sandpaper: To smooth rough edges and surfaces.
- Finish or stain: To enhance the wood’s appearance.
- Measuring tape: For precise measurements.
- Square: To ensure corners are at right angles.
- Saw: Depending on your design, you will need a hand saw or power saw.
- Screwdriver: For driving screws into the wood.
- Clamps: For holding pieces together while the glue dries.
Tools Required for Woodworking
Apart from the materials, having the right tools is essential for creating a sturdy and attractive wooden box. Here’s what you’ll need:
- Table saw: For straight cuts on larger boards.
- Router: For adding decorative edges or profiles.
- Drill: For making holes for screws and dowels.
- Jigsaw: For cutting curves or intricate designs.
- Chisel set: Useful for detailed work or removing excess wood.
Step-by-Step Guide on How to Make a Wooden Box
Now that you have your materials and tools ready, let’s break down the crafting process into manageable steps.
1. Design Your Box
Start with a sketch of your wooden box. Decide on the dimensions and shape you want. A simple rectangular box is a great beginner's project while more complex designs can come later. Keep in mind the purpose of the box - will it be for jewelry, tools, or keepsakes? Tailor your design accordingly.
2. Measure and Cut the Wood
Using your measuring tape and square, measure out the dimensions for the sides, bottom, and lid of your box. Mark the measurements clearly. After measuring, it’s time to cut the wood:
- Cut the front and back sides of the box.
- Create the left and right sides.
- Cut a piece for the bottom, ensuring it fits snugly inside.
- If your design includes a lid, cut it out separately.
3. Prepare the Pieces
Once you have all your pieces cut, use sandpaper to smooth the edges and surfaces. This step is crucial for preventing splinters and ensuring a polished look. Start with a lower grit (e.g., 80) to remove rough spots, then progress to a finer grit (220) for a smooth finish.
4. Assemble the Box
Begin assembling your box by attaching the sides to the bottom piece. Apply wood glue to the edges of the bottom and attach the side panels. Use clamps to hold them in place while the glue dries. For added strength, consider using screws for the corners, drilling pilot holes first to avoid splitting the wood.
5. Attach the Lid
If your design includes a lid, you can attach it using hinges. Mark the hinge locations on the back edge of the box and the lid, then drill pilot holes. Secure the hinges with screws, ensuring the lid opens and closes smoothly.
6. Finish Your Box
After the glue has dried and the box is assembled, it’s time to finish it. Apply a wood finish or stain to enhance the wood’s natural grain. Depending on the product you choose, you may need to apply multiple coats. Follow the manufacturer’s instructions for drying times and application techniques.
Tips for Successful Wood Box Making
Creating a wooden box can be a satisfying experience, but a few tips can help ensure success:
- Choose quality wood: Higher-quality wood will produce better results and have a longer lifespan.
- Take your time: Rushing the measurements and cuts can lead to mistakes.
- Practice safety: Always use safety gear such as goggles and masks when cutting or sanding wood.
- Join woodworking communities: Engage with local or online woodworking groups for support and ideas.
Creative Uses for Wooden Boxes
Once you’ve mastered the basic construction of a wooden box, you can explore various creative uses:
- Storage: Organize items like tools, crafts, or paperwork.
- Gift boxes: Personalize and decorate a wooden box for special occasions.
- Decorative pieces: Incorporate designs that fit your home’s decor, such as burning designs or painting.
- Planters: Use untreated wood boxes for outdoor or indoor planters.
Conclusion
Learning how to make a wooden box opens up a world of possibilities in woodworking. With patience, practice, and creativity, you can transform simple pieces of wood into functional and beautiful items. Whether you’re crafting for yourself or creating personalized gifts, the satisfaction of completing a woodworking project is unmatched. So gather your materials, sharpen your tools, and get ready to craft a wooden box that’s uniquely yours!
By Guest, Published on September 21st, 2024