How to make a workbench
Building Your DIY Workbench: A Comprehensive Guide
Creating your own workbench can transform your woodworking and crafting experiences. A workbench provides a sturdy surface for various projects, whether you're a seasoned woodworker or a hobbyist. In this guide, we'll explore the benefits of a custom workbench, the essential materials needed, and detailed steps on building it yourself.
Why You Need a Workbench
A workbench is an essential tool in any workshop. Here are some compelling reasons to consider:
- Stability: It offers a solid and stable platform to work on, enhancing accuracy in your projects.
- Efficiency: A dedicated surface for tools and materials saves you time by keeping everything organized.
- Customization: You can tailor your workbench to fit your specific needs and projects.
- Durability: A well-built workbench can last for years, making it a worthy investment.
Materials You’ll Need
Gathering the right materials is crucial for building a reliable workbench. Here’s what you will need:
- Workbench Top: This can be made from plywood, solid wood, or laminated board.
- Legs: Use sturdy lumber like 2x4s or 4x4s for stability.
- Braces: This will add strength to your framework, typically made from the same lumber as the legs.
- Fasteners: Screws, bolts, and wood glue are essential for assembly.
- Finish: Paint or sealant to protect your bench's surface.
Tools Required
To successfully build your workbench, you will need some basic tools. Here is a list you should have on hand:
- Measuring Tape: To ensure accurate dimensions.
- Square: For right angles and aligning structures.
- Drill: For making holes and driving screws.
- Saw: A circular saw or miter saw for cutting wood.
- Sandpaper: To smooth out edges and surfaces.
Step-by-Step Instructions on How to Build Your Workbench
1. Planning Your Workbench Design
Before you dive into construction, it's essential to plan out the design of your workbench. Consider its size, height, and features based on your needs. A standard height for a workbench is usually around 36 inches, but adjust it if you have specific preferences or tasks.
Sketch out a rough design, including dimensions for:
- Body size (length and width)
- Height of the table
- Any additional features (shelves, drawers, vice, etc.)
2. Cutting the Materials
Once you have a plan, it's time to get started with the cutting of your materials. Measure and mark your pieces carefully:
- Cut the workbench top to your desired dimensions.
- Cut four legs to your preferred height.
- Cut additional supports or braces for the legs and top if necessary.
Ensure all cuts are straight and clean for a professional look when assembling.
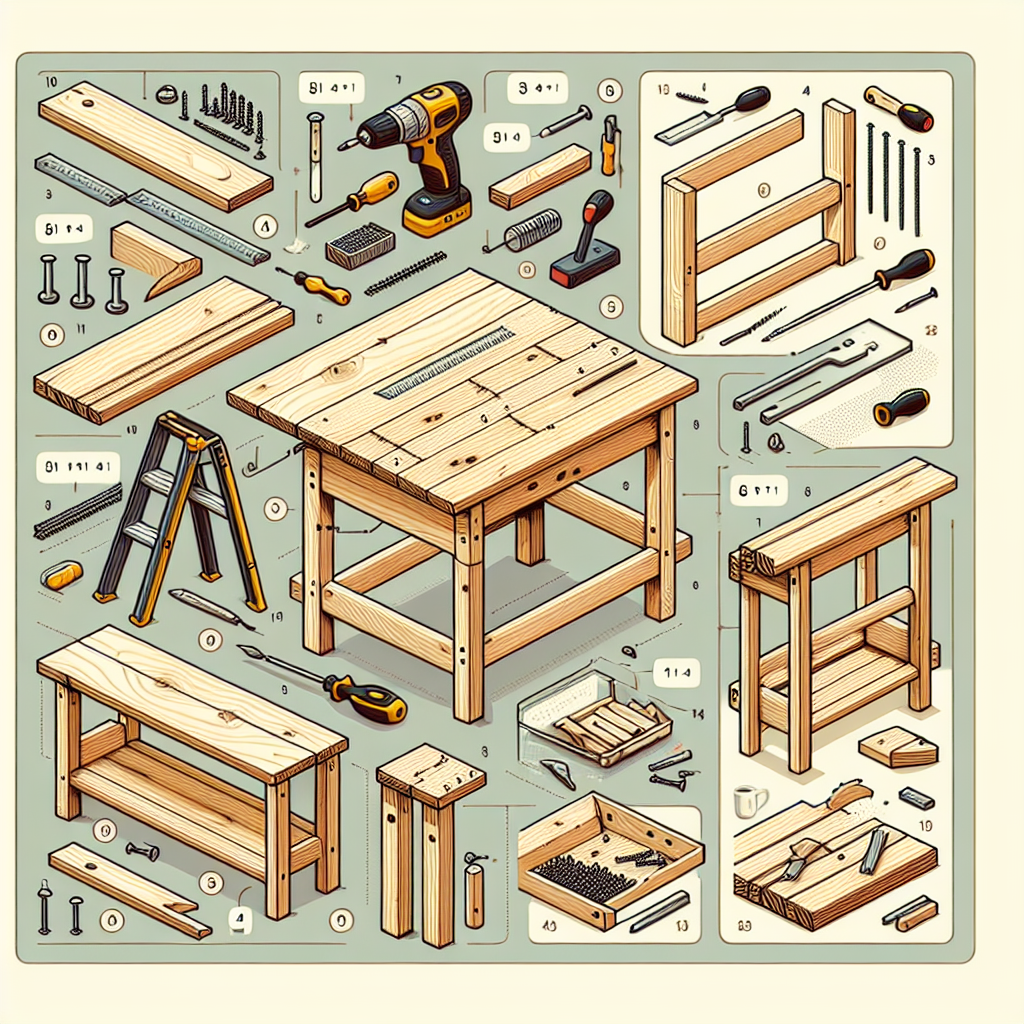
3. Assembling the Frame
The frame is the backbone of your workbench. Here's how to assemble it:
- Attach the legs to the corners of the top panel using screws. Be sure the legs are perpendicular to the top for stability.
- Add the horizontal supports between the legs for added strength. Place them at both the top and midsection of the legs.
4. Attaching the Workbench Top
With the frame in place, it’s time to secure the workbench top:
- Align the top with the frame.
- Use screws to attach the top securely to the frame. Ensure that it’s flush and level.
5. Adding Finishing Touches
After assembling the workbench, it’s time to add any extra features or finishing touches:
- Drawers: Consider installing drawers beneath the work surface for tools and supplies.
- Shelves: Adding shelves can help in organizing larger materials and tools.
- Finish: Apply a coat of paint or sealant to protect the wood from wear and tear.
Enhancements and Features for Your Workbench
Incorporating Tool Storage
Tool storage is critical for maintaining a clutter-free workspace. Here are some ideas:
- Magnetic strips for holding metal tools.
- Wall-mounted pegboards for additional hanging space.
- Built-in cabinetry for larger tools and materials.
Adding a Workbench Vice
A vice is an excellent addition that allows you to clamp down pieces securely. Installation can be done by:
- Choosing the appropriate size for your bench.
- Mounting it to the side or front of your workbench for easy access.
Using a Workbench Surface Protector
To extend the life of your workbench top, consider using a surface protector. Options include:
- Wood varnish: Provides a water-resistant seal.
- Metal or acrylic surface: For easy cleanup and durability.
Final Thoughts on Building Your Workbench
Creating your workbench is not just about practicality; it’s also about creativity and personalization. By following these steps and considering your specific needs, you can build a workbench that supports all of your projects, from woodworking to crafting and beyond.
Whether you’re experienced in carpentry or a beginner, building a workbench is a fulfilling project that enhances your workspace. So gather your materials, grab your tools, and enjoy the process of constructing a valuable asset for your creative endeavors!
"The only limit to your tools is your imagination!"
By Guest, Published on August 3rd, 2024