How to make built in shelves
Transform Your Space: How to Make Built-In Shelves
Built-in shelves are a fantastic way to add both style and functionality to your home. They can transform unused nooks into valuable storage spaces while enhancing the aesthetic appeal of your interior. If you've been contemplating a home improvement project that merges creativity with practicality, learning how to make built-in shelves could be your next big endeavor. In this guide, we'll explore the planning, tools, construction, and finishing touches that will help you succeed in a beautiful built-in shelving project.
Understanding Built-In Shelves
Before diving into the construction process, it’s essential to understand what built-in shelves are and the benefits they offer:
- Space Efficiency: Built-in shelves maximize the use of vertical space, particularly in tighter areas.
- Aesthetics: They provide a tailored look that blends seamlessly with the decor.
- Customization: You can tailor their size and shape to fit your needs, whether it’s in a living room, office, or kitchen.
- Increased Value: Professionally done built-ins can add value to your home.
Planning Your Built-In Shelves
Successful construction starts with proper planning. Here’s a step-by-step guide to help you outline your project:
- Determine the Location: Identify where you want to install your shelves. Popular areas include living rooms, bedrooms, and home offices.
- Measure the Space: Take accurate measurements of the area you wish to utilize including height, width, and depth.
- Decide on Dimensions: Based on your measurements, decide the height, spacing, and number of shelves. Ensure there’s enough room for books, decor, or other items.
- Choose Your Style: Consider whether you prefer a built-in look or floating shelves. Research different styles to see what best suits your decor.
- Budget: Establish a budget for materials and tools. Don’t forget to account for any extras, like decorative elements.
Gathering Materials and Tools
Once you have a clear plan, it’s time to gather the necessary materials and tools. Here’s what you’ll typically need:
Materials
- Plywood or MDF for the shelves
- Wood glue
- Wood screws
- Paint or stain
- Brackets or wall supports (if needed)
- Wood filler (for any imperfections)
Tools
- Measuring tape
- Level
- Saw (circular or table saw recommended)
- Drill
- Screwdriver
- Sandpaper or sanding block
- Paintbrush or roller
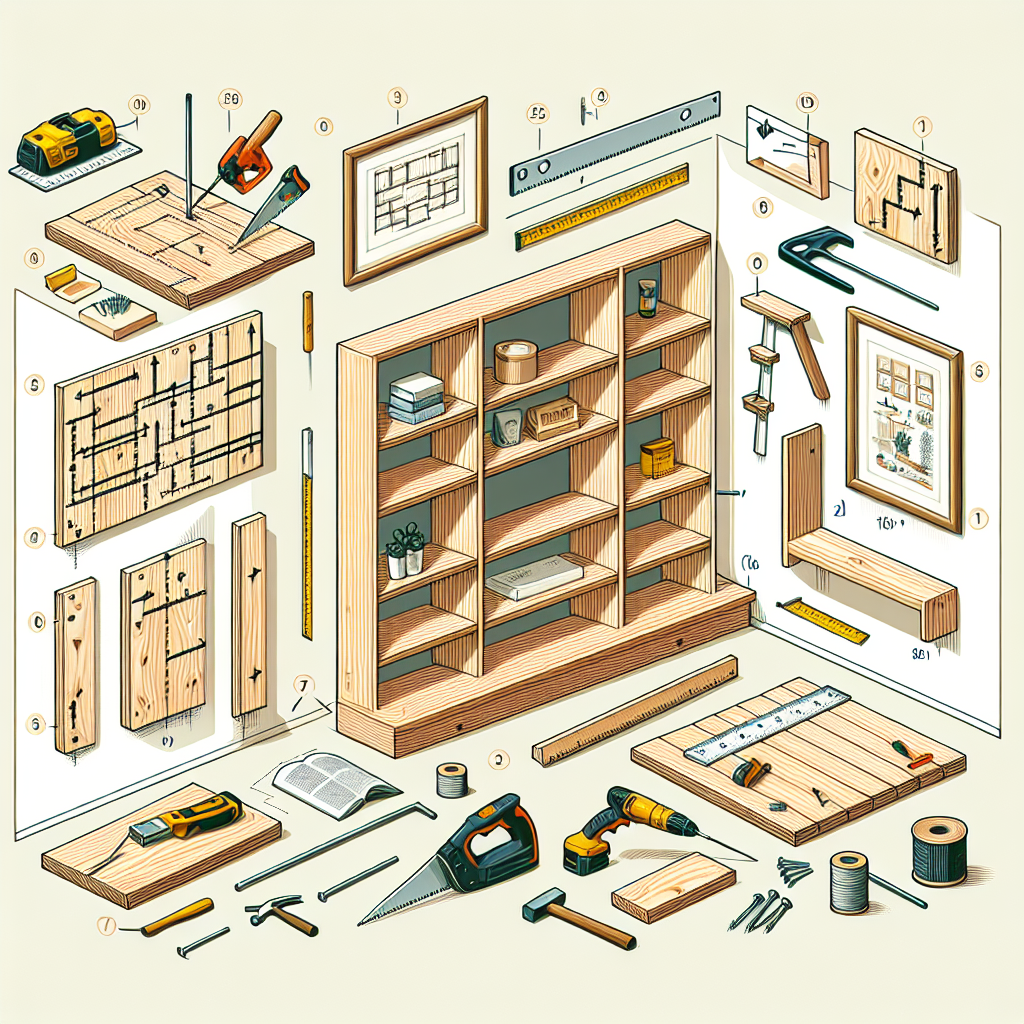
Construction Steps
With materials and tools in hand, you’re ready to start building. Below is a step-by-step construction process:
Step 1: Mark Your Measurements
Using a pencil, carefully mark where each shelf will go as well as where the shelving frame will attach to the wall.
Step 2: Cut the Wood
Following your measurements, cut your plywood or MDF to size. Ensure that cuts are straight and precise for a professional finish.
Step 3: Construct the Frame
If your shelves require a frame, assemble the frame first. Use wood glue and screws to attach the pieces together securely.
Step 4: Attach the Frame to the Wall
Using a level, ensure that your frame is straight and then attach it to the wall using brackets or wall supports. Make sure to screw into studs for stability.
Step 5: Install Adjustable Shelf Brackets (if applicable)
Mark where you want your adjustable shelf brackets, drilling holes for mounting to accommodate different shelf heights.
Step 6: Paint or Finish the Wood
Before installing the shelves, it’s best to apply paint or stain to the wood to protect it and match your decor. Allow it to dry completely before proceeding.
Step 7: Install the Shelves
Once everything is set and dry, place the shelves onto the brackets or frame and secure them in place if needed.
Step 8: Finishing Touches
Fill any screw holes with wood filler, sand down, and apply touch-up paint for a flawless look. Add decor or books to personalize your new built-in shelves!
Maintenance Tips for Your Built-In Shelves
To keep your built-in shelves looking great and functioning well, follow these simple maintenance tips:
- Dust Regularly: Wipe down your shelves with a microfiber cloth to prevent dust buildup.
- Avoid Overloading: Be mindful of weight limits to prevent bowing or damage.
- Reorganize Periodically: Take some time every few months to reorganize items, ensuring a tidy appearance.
Customizing Your Built-In Shelves
Once you're confident with the construction of built-in shelves, you can start thinking about customization. There are countless ways to make these shelves your own:
- Lighting: Consider adding LED strip lighting to highlight your shelves and their content.
- Paint Color: Choose contrasting colors for the shelves or back panel to create a pop in the design.
- Decorative Hardware: Use stylish brackets or unique supports to enhance the aesthetic value.
Conclusion: Enjoy Your New Built-In Shelves
With the knowledge of how to make built-in shelves shared in this guide, you're well on your way to creating stunning storage solutions in your home. Whether you're a DIY enthusiast or a first-time builder, the satisfaction of constructing your own shelving will be well worth the effort. Enjoy the beautifully organized space you have created to showcase your books, plants, and other beloved items.
“The best time to plant a tree was twenty years ago. The second best time is now.” – Chinese Proverb
So why wait? Start planning your project today and add functional, eye-catching built-in shelves to your living space. Happy building!
By Guest, Published on September 29th, 2024