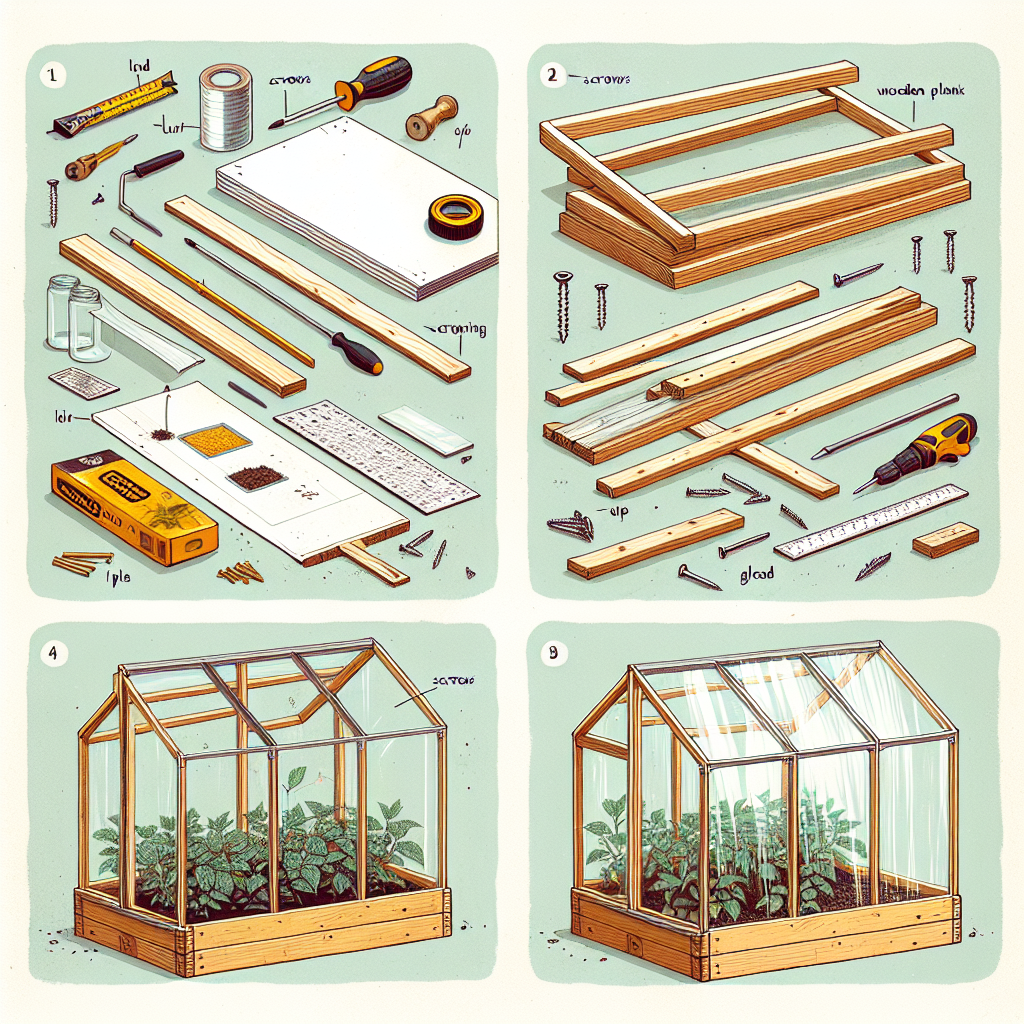
How to build a cold frame
How to Build a Cold Frame: A Comprehensive Guide
If you're an avid gardener looking to extend your growing season, a cold frame can be an invaluable addition to your gardening toolkit. Cold frames are simple structures that trap solar energy and protect plants from harsh weather conditions, enabling you to sow seeds and grow plants earlier in the spring and later into the fall. In this article, we will explore the benefits of using a cold frame, materials needed, step-by-step instructions on building one, and tips for maintaining it.
What Is a Cold Frame?
A cold frame is essentially a mini greenhouse. It usually consists of four walls made of wood or other materials, topped with a transparent lid made from glass or plastic. This setup helps to create a warm, sheltered environment that can trap heat from sunlight while providing protection against freezing temperatures and harsh winds.
Benefits of Using a Cold Frame
Cold frames offer several advantages for gardeners:
- Extended Growing Season: Cold frames allow for earlier planting and later harvesting, making it easier to grow a wider variety of plants.
- Seed Germination: They provide an ideal environment for starting seeds indoors, allowing them to thrive before being transplanted outdoors.
- Frost Protection: Cold frames protect young plants from frost, helping to ensure healthy growth.
- Pest Management: By keeping seedlings sheltered, you can reduce the risk of pest infestations.
Materials You Will Need
Building a cold frame is relatively simple and requires a few readily available materials. Here’s a list of the basic supplies you will need:
- Wood (for the frame): Cedar or untreated pine are good options.
- Glass or plastic panels (for the lid): Old windows or clear polycarbonate sheets work well.
- Hinges (to attach the lid to the frame).
- Wood screws (for assembly).
- Paint or wood sealant (optional, for weatherproofing).
- Optional: L-brackets for extra stability.
How to Build a Cold Frame
Now that you have your materials ready, let’s go through the step-by-step process of constructing your cold frame.
Step 1: Choose the Right Location
Select a sunny spot in your garden that receives at least 6 hours of sunlight daily. Avoid areas with heavy shade from trees or buildings. The optimal location can significantly affect the effectiveness of your cold frame.
Step 2: Build the Frame
- Measure and Cut the Wood: Decide on the size of your cold frame. A common size is 4 feet by 6 feet, but you can customize it to your needs. Cut the wood pieces accordingly.
- Assemble the Base: Create a rectangular frame using your cut wood. Use wood screws to secure the corners and ensure it is sturdy.
- Add the Sides: Attach the vertical pieces to the corners of the base to form the walls of the cold frame. Make sure they are level and square.
- Secure with L-Brackets (optional): For added stability, attach L-brackets at the corners of your frame.
Step 3: Create the Lid
The lid is crucial as it allows light to enter while providing insulation. Here’s how to create it:
- Cut the Panels: Measure the top dimensions of your frame and cut your glass or plastic panels to fit. You can use a single panel or multiple panels depending on your materials.
- Attach Hinges: Fix the hinges on one side of the frame to secure the lid, allowing it to open easily for ventilation.
Step 4: Installation
Once your cold frame is assembled, it’s time to install it. Follow these steps:
- Place the Cold Frame: Move your cold frame to the chosen location and ensure it's level and stable.
- Anchor It (optional): If you live in a windy area, consider anchoring it with stakes or bricks to prevent it from being blown away.
Step 5: Prepare the Interior
The interior of your cold frame should facilitate healthy plant growth. Here's how to prepare it:
- Fill with Soil: Add a mix of soil and compost to the base of your cold frame to provide nutrients.
- Moisten the Soil: Water the soil lightly to provide a moist environment for the seeds.
Maintaining Your Cold Frame
To ensure that your cold frame operates effectively throughout the growing season, consider the following maintenance tips:
- Ventilation: Always remember to open the lid on warm days to allow excess heat to escape. Close it during cold nights to retain warmth.
- Water Management: Check the moisture level regularly and water as needed, avoiding over-saturation.
- Weeding: Keep the area free from weeds to prevent competition for nutrients.
- Seasonal Adjustments: In the height of summer, adjust the lid or use shading to avoid overheating.
Plants to Grow in a Cold Frame
With your cold frame set up, you can grow a variety of plants. Consider the following options:
- Leafy Greens: Lettuce, spinach, and kale thrive in cooler conditions.
- Herbs: Basil, cilantro, and chives can be started early.
- Root Vegetables: Carrots and radishes flourish when sown early.
Frequently Asked Questions
"Can I use a cold frame year-round?"
Yes! Cold frames can be used in winter, though you might need to add additional insulation (like straw bales) during extremely cold temperatures.
"Do I need to buy materials or can I repurpose old items?"
You can absolutely repurpose old windows or spare wood to create an efficient cold frame, keeping costs low and reducing waste.
Conclusion
Building a cold frame is a rewarding project that enhances your gardening experience. With just a few materials and some simple steps outlined above, you can create an environment that supports plant growth well beyond the usual season. Remember to maintain it properly and experiment with different plant varieties. You’ll be amazed at how this versatile structure can transform your gardening journey!
By Guest, Published on October 25th, 2024