How to build a farmhouse table
How to Build a Farmhouse Table: A Comprehensive Guide
Farmhouse tables are a beloved staple in many homes, known for their rustic charm and sturdy design. Whether you're looking to create a warm gathering place for family and friends or simply adding style to your dining area, knowing how to build a farmhouse table can be a rewarding experience. This guide will walk you through the process step-by-step, ensuring you have all the information needed to create your own beautiful table.
Understanding the Farmhouse Table Design
A farmhouse table typically features a robust structure with a well-worn aesthetic. The style is characterized by:
- **Solid wood construction**
- **A wide tabletop**
- **Sturdy legs**
- **A rustic finish** that highlights the natural grain of the wood
Before diving into the building process, it's essential to have a clear idea of the design and dimensions you want for your table. Most farmhouse tables range from six to eight feet in length, making them perfect for large gatherings.
Materials and Tools Needed
To successfully build a farmhouse table, you'll need to gather both materials and tools. Here's a comprehensive list:
Materials
- **Wood boards** (such as pine, oak, or poplar)
- **Wood screws**
- **Wood glue**
- **Sandpaper** (various grits)
- **Wood finish** (stain, sealant, or paint)
Tools
- **Circular saw or miter saw**
- **Drill**
- **Kreg jig** (for pocket holes)
- **Clamps**
- **Measuring tape**
- **Square**
- **Level**
- **Paintbrush or rag** for applying finish
Step-by-Step Guide to Building Your Farmhouse Table
Now that you have your design and materials ready, let’s discuss the process of constructing your farmhouse table.
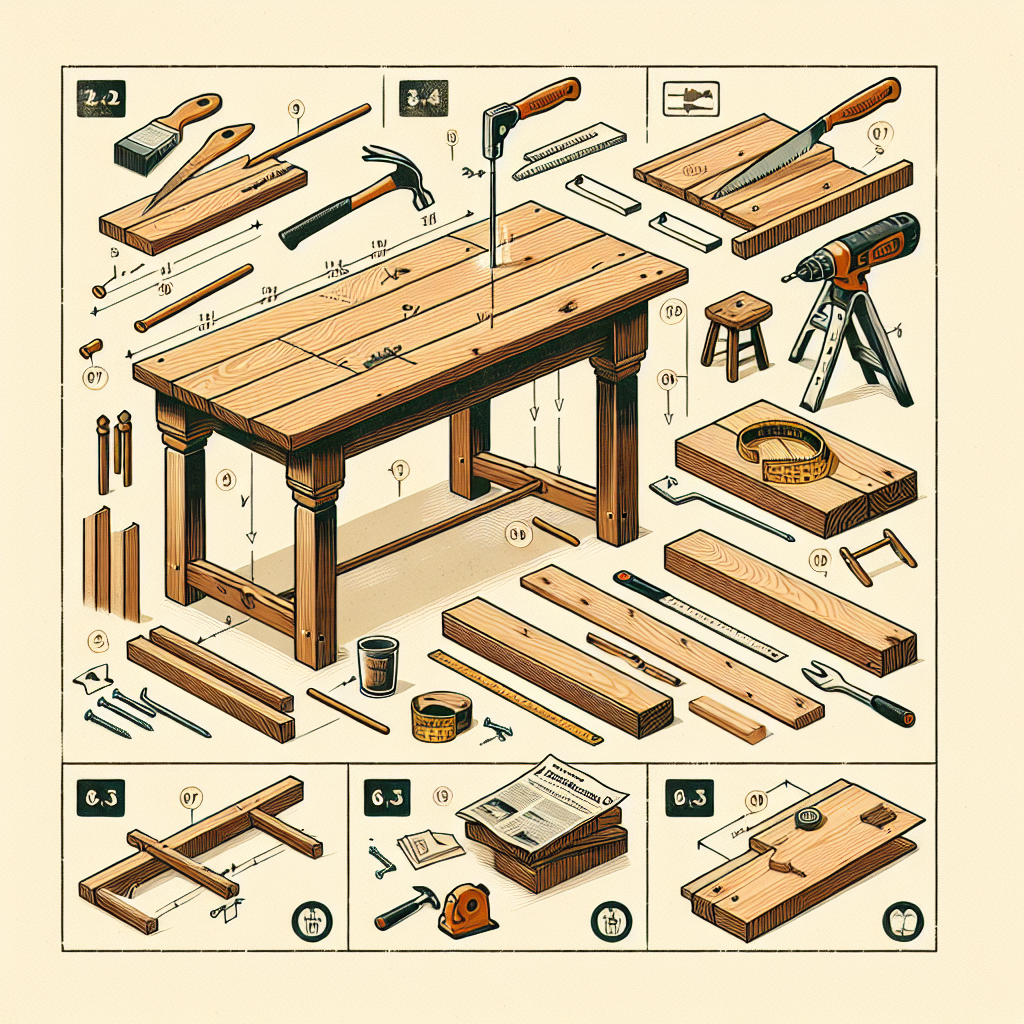
Step 1: Cut Your Wood
Measure and cut your wood according to the dimensions you have chosen. Here’s a basic outline of the pieces you’ll need:
- **Tabletop**: 2-3 boards of your chosen length (usually 6-8 ft)
- **Table legs**: 4 pieces, typically around 30 inches in height
- **Table aprons**: 4 pieces, cut to fit between the legs and support the tabletop
Use your saw to make precise cuts, and always remember to safety first by wearing protective eyewear.
Step 2: Assemble the Tabletop
To create the tabletop, lay the boards side by side. Use wood glue between the boards and clamp them together. This step is crucial to create a seamless surface. Allow the glue to dry for at least 30 minutes.
Step 3: Prepare the Legs and Aprons
While the tabletop is drying, work on the legs and aprons. Attach the aprons to the legs using wood screws and a Kreg jig. This will help provide support and stability to the table structure.
Step 4: Attach the Tabletop to the Base
Once the tabletop is dry, it’s time to join it with the base. Flip the tabletop over and center the base on it. Use wood screws to secure the base to the tabletop. Ensure everything is level and tightly secured.
Step 5: Sand and Finish
Now comes the fun part: sanding and finishing your farmhouse table. Use sandpaper, starting with a coarse grit and moving to finer grits, to smooth out any rough edges. When you’re satisfied with the surface, apply your chosen wood finish. This step enhances the beauty of the wood and protects it for years of use.
Tips for a Successful Build
Building a farmhouse table can be a DIY challenge, but these tips can help you along the way:
- **Take your time**: Rushing can lead to mistakes.
- **Measure twice, cut once**: Accuracy is key to a good fit.
- **Choose quality materials**: Investing in good wood will pay off in durability and aesthetics.
- **Ask for help**: Don’t hesitate to enlist a friend if needed, particularly for lifting heavy pieces.
Maintenance and Care for Your Farmhouse Table
Once your farmhouse table is built and beautifully finished, it’s essential to care for it properly. Here are some maintenance tips:
- **Regularly clean** with a damp cloth to remove spills.
- **Reapply finishes** as needed to protect the wood.
- **Avoid direct sunlight** which can fade the colors over time.
Final Thoughts
Knowing how to build a farmhouse table not only brings functionality to your living space but also allows for a personal touch in your home. With the right materials, tools, and guidance, you’ll create a stunning piece that can host countless gatherings and smash success at family dinners. Don’t hesitate to put your creativity into play; after all, every farmhouse table tells a story, and yours will be uniquely yours.
Share Your Experience
Have you built a farmhouse table? We’d love to hear about your experience and any tips you may have for others considering this DIY project. Leave a comment below and join the conversation!
By Guest, Published on August 15th, 2024