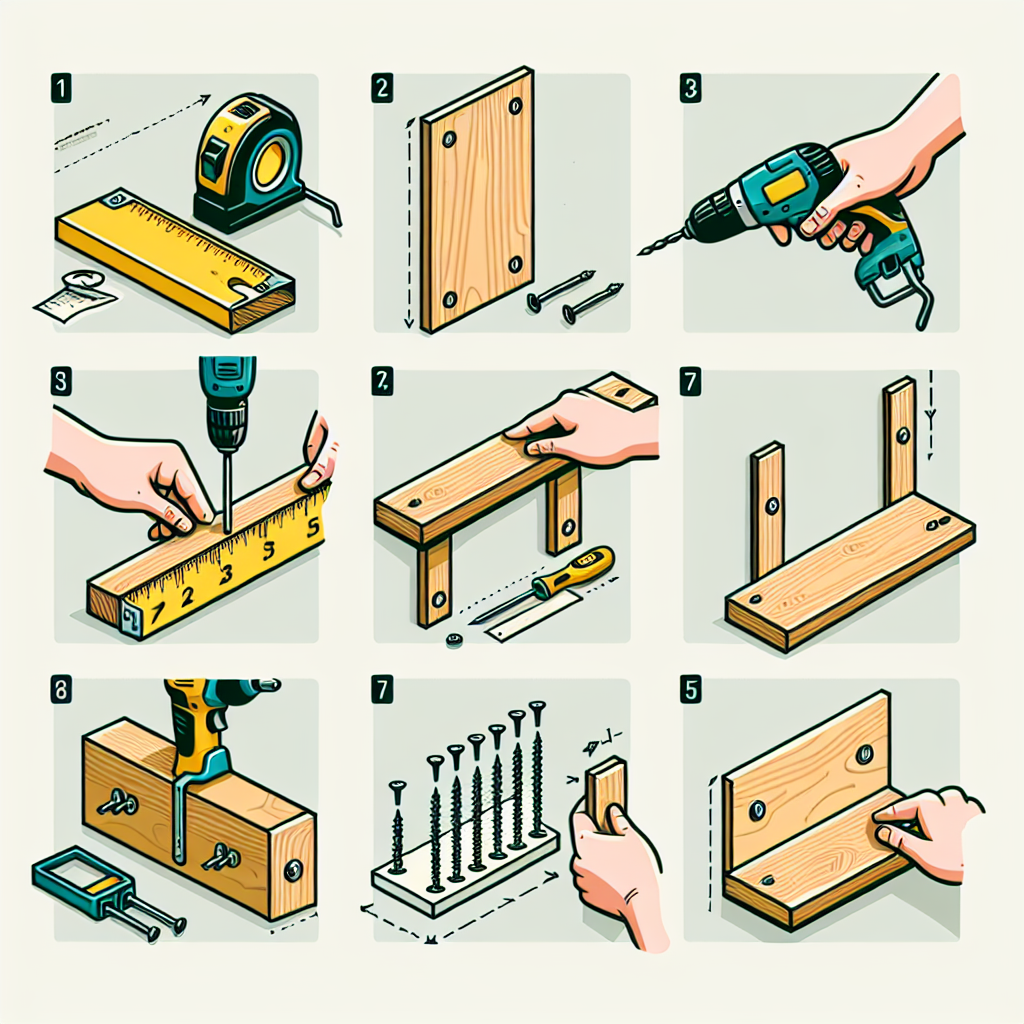
How to build a simple wall shelf
How to Build a Simple Wall Shelf: A Step-by-Step Guide
Building a wall shelf is an excellent way to declutter your space and showcase your favorite items without taking up valuable floor space. Whether you’re looking to create a simple floating shelf in your living room or a sturdy unit in your kitchen, constructing it yourself can be a fulfilling DIY project. In this guide, we will walk you through the essentials of how to build a simple wall shelf, ensuring you have all the knowledge and tools necessary for a successful endeavor.
Why Build Your Own Wall Shelf?
Before diving into the step-by-step construction, it’s worth discussing why building your own wall shelf is advantageous:
- Customization: You can tailor the size and design to suit your specific needs and style.
- Cost-Effective: DIY projects often save you money compared to purchasing pre-made furniture.
- Sense of Accomplishment: There’s immense satisfaction that comes from creating something with your own hands.
Materials You Will Need
Gathering your materials beforehand will make the building process seamless. Here’s a list of essential materials:
- Wood board (choose hardwood or plywood based on preference)
- Brackets (if not building a floating shelf)
- Wall anchors (for heavier loads)
- Screws
- Wood finish or paint (optional)
Tools Required
You’ll also need a few tools to help with the construction:
- Drill
- Screwdriver
- Saw (circular saw, jigsaw, or hand saw)
- Measuring tape
- Level
- Pencil
- Sandpaper
Preparing Your Workspace
Before you begin building, it’s important to have a clean and organized workspace. Choose an area where you can comfortably work and set out your materials and tools. Ensure you have adequate lighting and ventilation, especially when using woodworking products or paints.
Step 1: Measure and Cut the Wood
Determining the size of your wall shelf is crucial. Here’s how to go about it:
- Decide on the length and depth of your shelf. A standard depth is usually around 10 to 12 inches.
- Using your measuring tape, mark the measurements on your wood board with a pencil.
- Carefully cut the wood board according to your markings using the saw.
Tip: Sand the edges of your cut wood to remove any splinters for a smooth finish.
Step 2: Finish the Wood (Optional)
If you want to add a finish to your shelf, now is the time. You may choose to stain or paint the wood. Here’s how:
- Apply wood stain or paint using a brush or cloth.
- Allow it to dry according to the manufacturer’s instructions.
- Optionally, apply a second coat for richer color and finish.
Step 3: Determine the Placement and Mark the Wall
Where you hang your shelf is just as important as its construction. Here’s a straightforward process:
- Decide where you want the shelf to be placed on the wall, taking into consideration both aesthetics and functionality.
- Use a pencil to lightly mark where the brackets or shelf will be mounted.
- Use a level to ensure your markings are straight.
Step 4: Install Wall Brackets or Supports
If you’re using brackets to support the shelf, follow these steps:
- Drill holes into the marked spots on the wall according to the size of your wall anchors.
- Insert the wall anchors into the holes.
- Attach the brackets to the wall using screws, ensuring they’re level and secure.
If you're building a floating shelf, you will need to attach concealed mounts into the wall instead of brackets.
Step 5: Place the Shelf on the Brackets
After installing the brackets, carefully place your shelf onto them. Make sure it’s resting evenly and securely. Use a level to check once more, making adjustments as necessary.
Step 6: Secure the Shelf (if necessary)
If you want extra security, drill small screws through the top of the shelf into the brackets below, preventing it from shifting. This step is particularly essential if the shelf will support heavier items.
Step 7: Style Your New Shelf
Now the fun part begins! Start decorating your shelf:
- Add books, plants, decorative boxes, or photographs.
- Experiment with different arrangements until you find a layout you love.
- Consider using under-shelf lighting to create a warm ambiance.
Maintenance Tips for Your Wall Shelf
To keep your shelf looking its best, consider these maintenance tips:
- Regularly dust items on the shelf to prevent buildup.
- Check brackets and screws periodically to ensure everything is secure.
- If wood starts to dull, consider reapplying a protective finish.
Common Mistakes to Avoid
While building a wall shelf can be straightforward, there are common pitfalls to be aware of:
- Not measuring correctly, which can lead to fitting issues.
- Using inadequate support for heavier items.
- Failing to level the shelf during installation.
Conclusion
Building a wall shelf is not only a practical solution for creating additional storage space but also allows you to inject your personal style into your home. By following the steps outlined in this article, you're well on your way to mastering how to build a simple wall shelf that meets your needs. With a little bit of effort and creativity, you can create an attractive and functional piece of furniture that showcases your favorite belongings. Happy building!
By Guest, Published on October 25th, 2024