How to build an outdoor pizza oven step by step
How to Build an Outdoor Pizza Oven Step by Step
Creating an outdoor pizza oven is not just about cooking; it's a project that brings family and friends together while enhancing your backyard. In this guide, you will learn how to build an outdoor pizza oven step by step, ensuring you produce the perfect pie for every occasion. Let’s dive into the details!
Benefits of Having an Outdoor Pizza Oven
Before we embark on the construction process, let’s explore why having an outdoor pizza oven is a great idea.
- Enhanced Flavor: Cooking pizza in a wood-fired oven creates a unique flavor profile that cannot be achieved with conventional ovens.
- Social Activity: Making pizza becomes a fun, social event for gatherings, allowing friends and family to participate.
- Increased Home Value: An outdoor kitchen area, complete with a pizza oven, can enhance your home’s value.
- Versatility: Beyond pizza, an outdoor oven can be used for baking bread, roasting vegetables, and even cooking meats.
Essential Materials and Tools
Gathering the right materials and tools is crucial for your outdoor pizza oven project. Here’s a comprehensive list:
- Materials:
- Firebricks (for the oven floor)
- Insulation (ceramic fiber or vermiculite)
- Concrete blocks (for the base)
- Concrete (for the foundation and hearth)
- Refractory cement (for sealing bricks)
- Metal oven door
- Wood (for firewood storage)
- Paving stones (optional, for aesthetics)
- Tools:
- Shovel
- Trowel
- Level
- Bucket
- Measuring tape
- Wheelbarrow
- Chisel
- Safety goggles & gloves
Choosing the Right Location
Your outdoor pizza oven's location is one of the most critical factors in the overall experience. Here are some aspects to consider:
- **Distance from the House:** Place the oven at least 10 feet away to mitigate fire hazards.
- **Accessibility:** Ensure that the oven is easily accessible from your kitchen and dining area.
- **Wind Direction:** Position the oven so that smoke does not blow into your house or your guests.
- **Sunlight & Shade:** Opt for a shaded spot that’s comfortable to work in, especially during hot summer days.
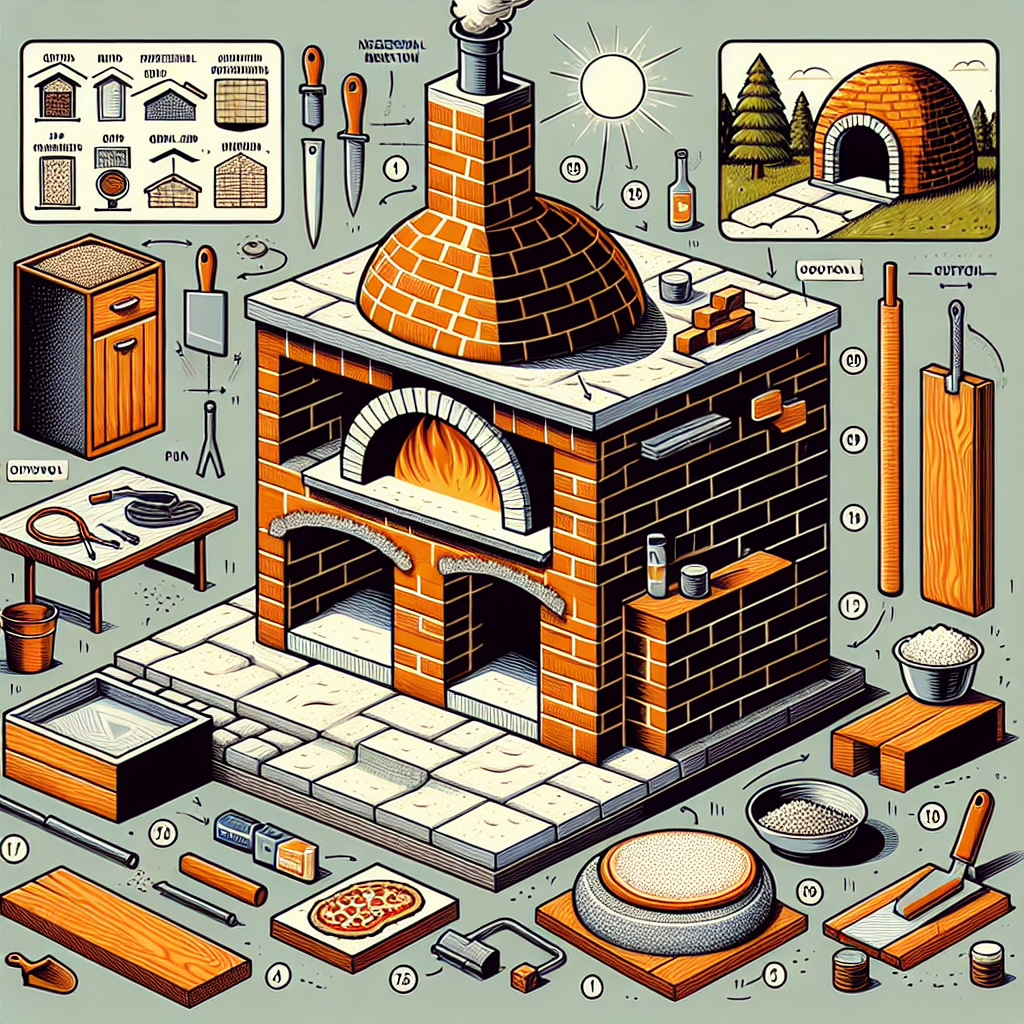
Building Your Outdoor Pizza Oven: Step-by-Step Guide
Let’s get into the nitty-gritty of how to build an outdoor pizza oven step by step.
Step 1: Prepare the Foundation
- Determine the size of your pizza oven and mark the area guidelines with stakes.
- Excavate the marked area to a depth of around 6-8 inches.
- Fill the trench with gravel to create a stable base and level it.
- Mix concrete and pour it over the gravel to create a solid foundation, allowing it to cure for at least 24-48 hours.
Step 2: Build the Base
Once the foundation is ready, you can construct the base to support your oven.
- Lay concrete blocks in two rows, leaving a gap for a countertop in the front.
- Use a level to ensure that each block is straight.
- Mortar the blocks together for added stability.
Step 3: Create the Oven Hearth
The hearth is where your pizza will sit and cook. It must be made from durable, heat-retaining materials.
- Using firebricks, lay a flat surface on top of the block base, ensuring joints are staggered for strength.
- Calibrate the hearth to be level to support even cooking.
- Seal the joints with refractory cement.
Step 4: Construct the Oven Dome
The dome is key to achieving the perfect cooking environment.
- Create a wooden frame to support the dome structure.
- Begin laying firebricks in a circular pattern, working from the base upward to form the dome.
- Leave an opening for the chimney and a mouth for the oven entrance.
- Ensure that all bricks are secure and level.
Step 5: Insulation Layer
The insulation is crucial for retaining heat and achieving high cooking temperatures.
- Cover the outer layer of the dome with insulation material like ceramic fiber or vermiculite.
- Apply a layer of reinforced cement to secure the insulation and add extra protection from the elements.
Step 6: Install the Chimney
The chimney allows smoke to escape, keeps the heat in, and prevents backdrafts.
- Install a metal flue in the chimney opening.
- Extend the chimney above the oven dome and secure it properly.
Step 7: Final Touches
Your outdoor pizza oven is almost complete!
- Apply a coat of high-temperature paint for aesthetics and weatherproofing.
- Build or attach a door to keep the heat in and improve cooking efficiency.
- Create a countertop area for food preparation.
Getting the Most Out of Your Pizza Oven
Now that your outdoor pizza oven is constructed, it’s essential to know how to maximize its use:
- Heat Management: Preheat your oven for about 30-45 minutes to achieve the ideal temperature of 500°F to 800°F.
- Wood Selection: Use hardwoods like oak or maple for long-lasting heat. Avoid resinous woods like pine.
- Pizza Stone: Place a pizza stone inside the oven for better heat distribution while baking.
- Experiment: Don’t just stop at pizza! Try baking bread, roasting vegetables, or even creating desserts.
Maintenance Tips for Your Outdoor Pizza Oven
A well-maintained pizza oven will serve you for years. Follow these tips:
- Clean the oven floor after every use to prevent build-up of residue.
- Inspect the chimney for blockages regularly to ensure optimal airflow.
- Cover the oven with a weather-resistant tarp if exposed to rain or snow.
- Check insulation and bricks for wear and tear, replacing damaged sections as needed.
Conclusion
Building an outdoor pizza oven can seem like a daunting task, but by following this step-by-step guide, you can confidently create a beautiful and functional centerpiece for your backyard. Not only will you enjoy delicious homemade pizzas, but you'll also elevate your entertaining game. Remember, the secret to a great pizza isn’t just the oven; it’s the joy of sharing it with loved ones. So gather your materials, roll up your sleeves, and embark on this rewarding project!
By Guest, Published on August 17th, 2024