How to fix automatic repair in windows 10
Understanding the Automatic Repair Loop in Windows 10
If you're a Windows 10 user, encountering the dreaded **automatic repair loop** can be a frustrating experience. This issue often arises after a failed update, improper shutdown, or hardware failure, leaving your computer unable to boot. In this article, we'll walk you through the steps to resolve this problem effectively.
What Causes the Automatic Repair Loop?
Before diving into solutions, it's essential to understand common causes of the automatic repair loop:
- Corrupted Files: Files critical for system startup might be corrupted.
- Windows Updates: Incomplete or failed updates can disrupt the boot process.
- Hardware Changes: Changes in hardware or faulty components may prevent the system from starting.
- Malware or Virus Attacks: Malicious software can interfere with the boot process.
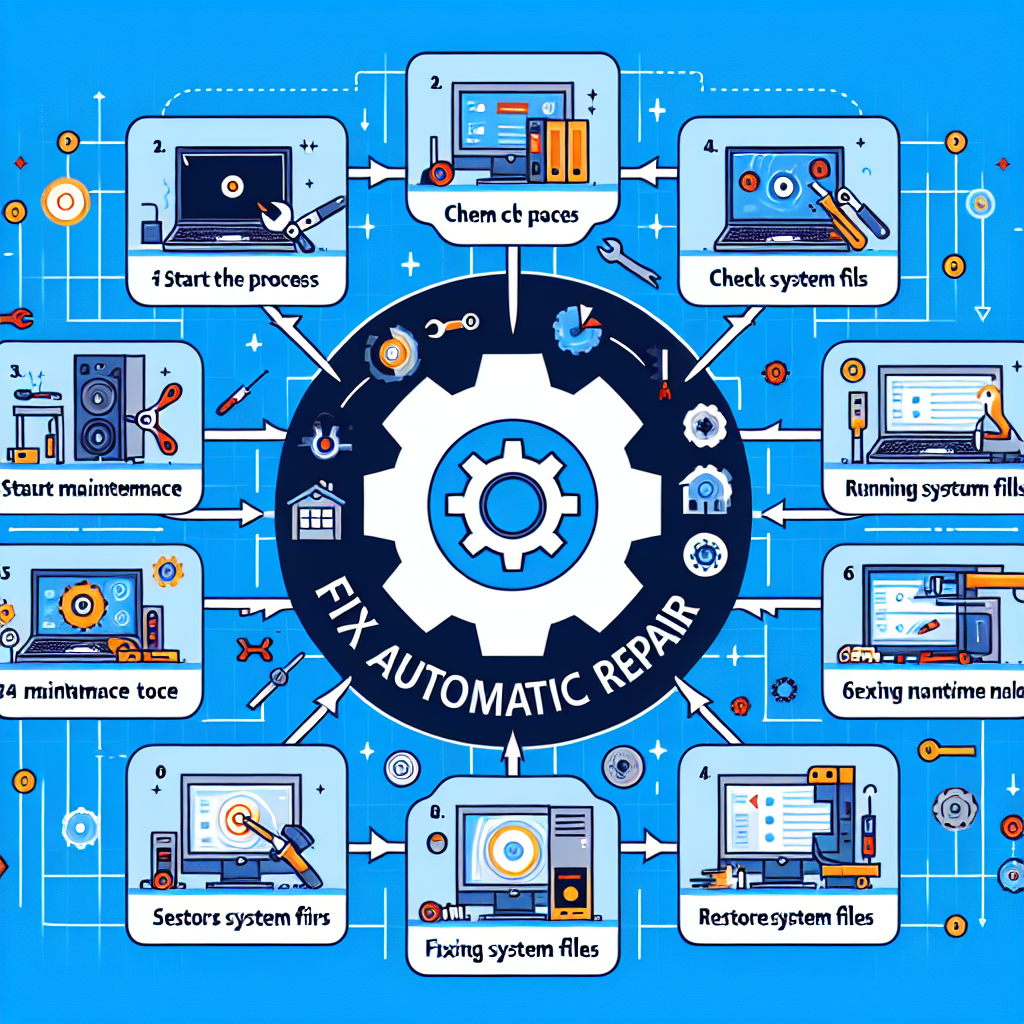
Steps to Fix Automatic Repair in Windows 10
Now that you're familiar with the causes, let's discuss how to address the automatic repair issues systematically. Follow these instructions carefully to restore your system.
Step 1: Accessing Advanced Startup Options
The first step in resolving issues is to access the Advanced Startup Options menu. Here’s how to do it:
- Start your computer and continuously press the F11 key (or Shift + F8) as it boots
- If the menu doesn’t appear, you might need to force shutdown your PC three times.
- Upon the third shutdown, Windows should enter the Windows Recovery Environment (WinRE).
Once you're in the recovery environment, proceed to the next step.
Step 2: Running Startup Repair
One of the most straightforward solutions is to run the Startup Repair tool:
- In the Windows Recovery Environment, select Troubleshoot
- Click on Advanced options
- Choose Startup Repair
- Select the Windows account you wish to repair and enter your password, if necessary.
Let Windows attempt to fix the problems automatically. If this fails, don’t worry; there are more solutions to try.
Step 3: Use Command Prompt for Troubleshooting
The Command Prompt offers various commands that can help resolve boot issues. Follow these instructions:
- In the Advanced options menu, select Command Prompt.
- Type the following commands one by one and press Enter after each:
- bootrec /fixmbr
- bootrec /fixboot
- bootrec /scanos
- bootrec /rebuildbcd
This set of commands repairs the Master Boot Record (MBR), creates a new boot sector, and rebuilds the Boot Configuration Data (BCD).
Step 4: Perform System Restore
If the command prompt doesn’t resolve the issue, you can attempt a System Restore:
- Back in the Advanced options menu, choose Troubleshoot
- Select Advanced options, then click on System Restore
- Follow the prompts to restore your system to an earlier point when it worked correctly.
This process will revert your system settings back to a previous state, which can eliminate any issues caused by recent changes.
Step 5: Reset Your PC
If none of the above methods work, you might need to consider resetting your PC:
- In the Advanced options menu, select Troubleshoot
- Choose Reset this PC
- You will see two options: Keep my files or Remove everything. Choose according to your need.
This option reinstalls Windows, which may fix the boot issue but could also result in data loss, depending on your choice. Always back up your files if possible.
Advanced Solutions: Boot Repair with Installation Media
If you're still facing issues after trying the above steps, you may need to use Windows 10 installation media. Here’s how:
Creating Windows 10 Installation Media
1. Download the **Windows 10 Media Creation Tool** from the official Microsoft website.
2. Insert a USB flash drive (at least 8GB) into your PC.
3. Open the tool and select Create installation media (USB flash drive, DVD, or ISO file).
4. Select the appropriate options and create the installation media.
Booting from Installation Media
After creating the media, follow these steps:
- Insert the USB drive into the affected PC.
- Restart the computer and boot from the USB (you may need to change the boot order in BIOS).
- On the Windows Setup screen, select your language preferences and click Next.
- Choose Repair your computer at the bottom left.
Performing Startup Repair through Installation Media
1. Select Troubleshoot, then Advanced options.
2. Click on Startup Repair and select the Windows account you wish to repair.
This method provides additional tools for fixing boot problems.
Prevention Tips for Automatic Repair Issues
Once you've resolved the automatic repair loop, it’s crucial to prevent future occurrences. Here are some tips:
- Regularly Update Windows: Keep your system up to date to avoid compatibility issues.
- Run Regular Virus Scans: Utilize reliable antivirus software to protect against malicious threats.
- Perform Disk Checks: Regularly check your hard drive for errors using chkdsk.
- Backup Your Data: Regular backups can save you from data loss in case of system failures.
Conclusion
Encountering the automatic repair loop in Windows 10 is undoubtedly frustrating, but with the right steps, you can resolve the issue efficiently. Remember to diagnose the problem, employ the solutions outlined above, and take preventive measures to ensure your system runs smoothly. By effectively managing your Windows system, you can enjoy a seamless user experience.
If you follow these guidelines on how to fix automatic repair in windows 10, you'll be well-equipped to navigate this challenging situation and safeguard your computer against future issues.
"A problem well stated is a problem half solved." — Charles Kettering
By Guest, Published on August 18th, 2024