How to build steps for a deck
How to Build Steps for a Deck: A Comprehensive Guide
Building a deck is a fantastic way to enhance your outdoor living space. Whether you’re entertaining guests or enjoying a quiet evening under the stars, a well-designed deck can elevate your home’s functionality and aesthetic value. One of the most important components of a deck is the steps. In this article, we will explore the intricacies of how to build steps for a deck, ensuring they are safe, sturdy, and stylish.
Understanding the Importance of Deck Steps
Deck steps serve as a crucial transition between your deck and the ground level. Here are several reasons why well-built steps are essential:
- Safety: Properly constructed steps minimize the risk of accidents.
- Accessibility: Steps allow easy access to the deck for everyone, including children and the elderly.
- Aesthetics: Well-designed steps can enhance the overall appearance of your deck.
Planning Your Deck Steps
Before you start building, it's essential to plan your deck steps carefully. Consider the following factors:
1. Location and Layout
Determine the location of your deck steps. They should be positioned where they provide smooth access while complementing your deck's design. The layout can influence the visual appeal of the overall structure.
2. Number of Steps
The total number of steps depends on the height of your deck. Follow these guidelines to calculate:
- Measure the vertical rise from ground level to the top of your deck.
- The standard step height, or "rise," is generally about 7 to 8 inches.
- Divide your total rise by the rise of individual steps to determine the number of steps needed.
3. Step Width and Tread Depth
The width of each step should ideally match the width of the deck, while the tread (the part you step on) should be at least 10 inches deep for comfortable foot placement.
4. Materials
Choose materials that are durable and aesthetically pleasing. Common materials include:
- Pressure-treated wood: Affordable and readily available.
- Composite decking: Low maintenance and resistant to rot.
- PVC: Another low-maintenance option that resists fading.
Tools and Materials Needed
Gathering the right tools and materials is critical to the success of your project. Here’s what you’ll need:
Tools:
- Measuring tape
- Level
- Drill
- Circular saw
- Safety goggles
- Chisel
- Hammer
Materials:
- Decking boards
- Stringers (the support for the steps)
- Lag bolts
- Screws
- Wood glue
- Post anchors
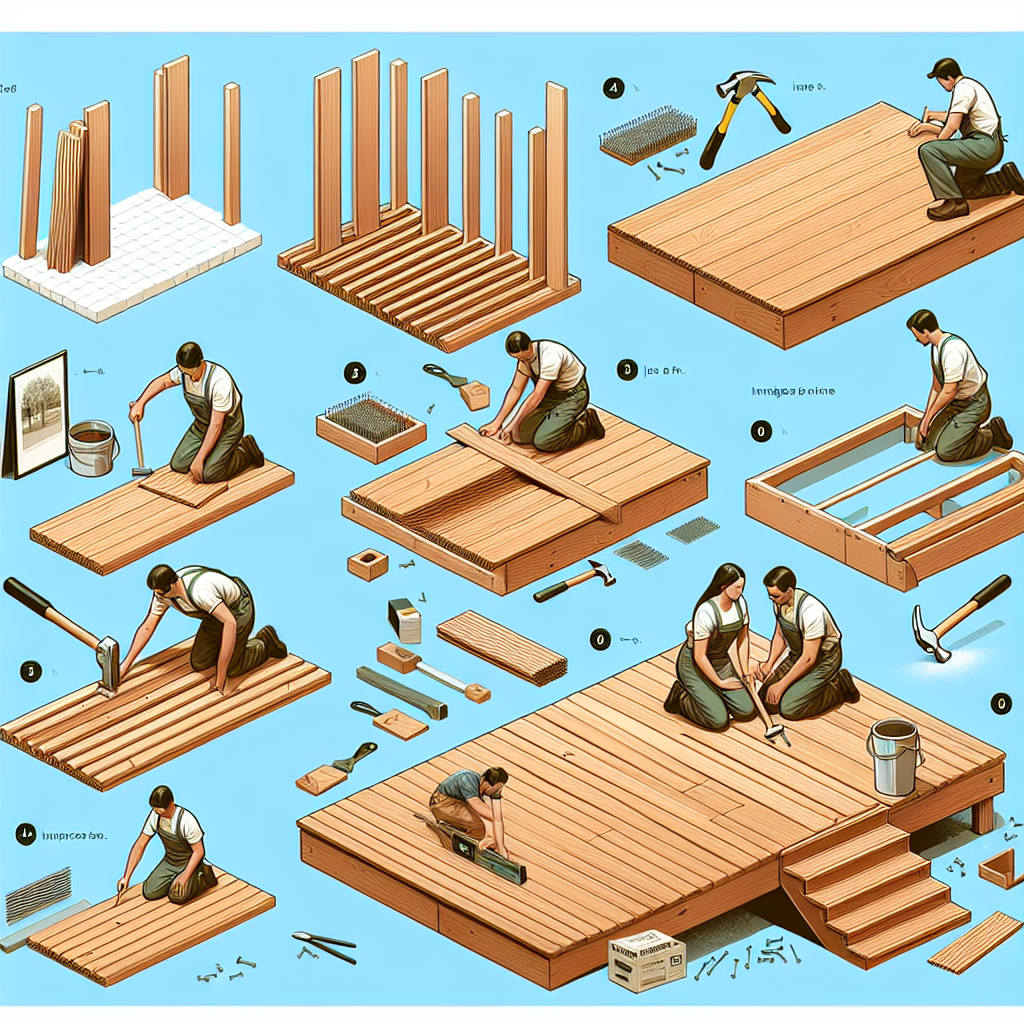
Step-by-step Guide on How to Build Steps for a Deck
Now that you've gathered all your materials and tools and planned your design, it’s time for the fun part: building your steps!
Step 1: Measure and Cut Stringers
Stringers are the backbone of your steps, supporting the treads. Here’s how to create your own:
- Using your measurements, mark the rise and tread on your stringer board.
- Cut the stringer at an angle to create a clean edge. Ensure the cuts are precise for stability.
- Repeat for the number of stringers you’ll need. Typically, three to five stringers are ideal for sturdy steps.
Step 2: Attach the Stringers
Position the stringers on the deck, ensuring that they are level and aligned. Affirmative attachment is vital, as it affects the stability of the steps. Use lag bolts to secure the stringers to the deck.
Step 3: Install Treads
After securing the stringers, it’s time to install the treads:
- Cut the decking boards to size for the treads.
- Position them evenly across the stringers.
- Secure each tread with screws, making sure they sit evenly and flush with one another.
Step 4: Build the Step Frame
To increase the durability and strength of your steps, building a frame is beneficial:
- Use additional boards to create a frame around the steps.
- Screw the frame securely to both the steps and the ground for added stability.
Step 5: Finish Up
With the main structure in place, it’s essential to perform a final check. Look for:
- Ensuring all screws and bolts are tight.
- Checking the level of the steps to prevent slipping.
- Sanding down any rough edges for safety.
Finishing Touches
Painting or staining your steps can dramatically increase the appeal of your deck. Some additional finishing touches you might consider include:
- Railings: For added safety, especially if your deck is elevated.
- Lighting: Illuminating your steps at night enhances safety and ambiance.
- Planters: Installing planters alongside the steps can create a beautiful, landscaped effect.
Common Mistakes to Avoid
When it comes to how to build steps for a deck, there are some mistakes you’ll want to steer clear of:
- Ignoring local building codes: Always confirm that your plans comply with any regulations.
- Rushing the measuring process: Accurate measurements are crucial to successful construction.
- Neglecting safety: Ensure the use of safety gear throughout the building process.
Care and Maintenance
Once your deck steps are complete, regular maintenance will help them last for years. Here’s how to maintain your steps:
- Inspect for any signs of wear or damage at least once a season.
- Keep the area free of debris to prevent slips.
- Reapply sealant or paint as necessary to protect against the elements.
Conclusion
Creating beautiful, functional steps for your deck is a project worth undertaking. With the right planning, tools, and attention to detail, you can enjoy your outdoor area more comfortably and safely. Whether you choose to DIY or hire a professional, knowing how to build steps for a deck gives you the knowledge to make informed decisions and create a welcoming environment in your home.
Happy Building!
By Guest, Published on August 17th, 2024