How to make a bean bag
Creating Your Own Cozy Space: How to Make a Bean Bag
Have you ever dreamed of curling up in a cozy bean bag, whether to read, watch movies, or simply relax? Bean bags not only serve as comfortable seating options but also add a touch of personal style to any room. While there are numerous options to buy one, crafting your own bean bag offers a unique opportunity to customize size, color, and shape. This guide will walk you through the steps for making your very own bean bag, highlighting some essential materials, techniques, and tips along the way.
Materials You Will Need
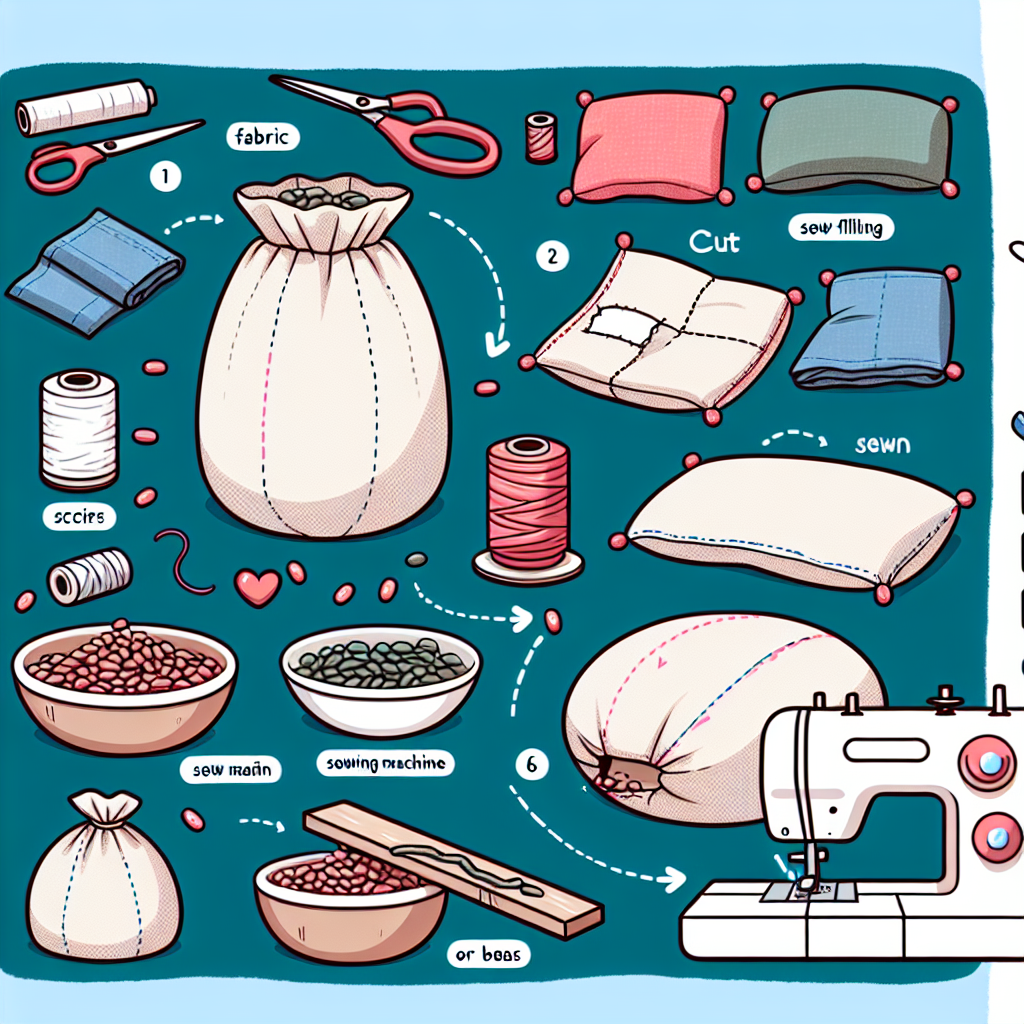
Before diving into the making process, it’s crucial to gather all your materials. Here’s a checklist to ensure you have everything you need:
- Fabric: Choose a durable fabric like canvas, denim, or upholstery fabric.
- Thread: A strong thread that matches your fabric color.
- Bean bag filler: Most commonly, polystyrene beads, but you can also use foam or recycled materials.
- Scissors: For cutting fabric.
- Sewing machine: To sew the fabric pieces together.
- Measuring tape: For accurate measurements.
- Chalk or fabric marker: To mark your fabric before cutting.
- Pin or clip: To hold the fabric pieces together while sewing.
Designing Your Bean Bag
When designing your bean bag, consider the size and shape that will best suit your needs. Here are a few common designs you can consider:
- Classic Round: A timeless and comfortable option.
- Pear-Shaped: Offers a unique look while providing excellent back support.
- Teardrop: A stylish alternative that fits well in modern interiors.
Once you have selected a design, create a simple sketch. This will help guide your measurements when cutting the fabric.
Measurements and Cutting Fabric
Now that you have your design, it's time to measure and cut the fabric. Here's how to proceed:
- For a classic round bean bag, start with two circular pieces for the top and bottom. Common diameter for adults is about 36 inches.
- For the sides, you may want a long fabric strip that wraps around the circumference. Measure the radius and calculate accordingly.
Once you have your measurements, use chalk or a fabric marker to draw circles and strips on the fabric, then carefully cut them out. It’s important to cut neatly to ensure clean seams.
Sewing the Fabric Together
With your fabric pieces cut and ready, you can begin sewing them together. Follow these steps:
- Pin/Clip the fabric: Start by aligning the edges of the top circular piece with the side strip. Pin or clip them together to hold them in place.
- Sew the edges: Using a sewing machine, sew along the pinned edges. Use a straight stitch and ensure that you sew close to the edge for a secure seam.
- Attach the bottom: Align the bottom circular piece, pin it in place, and repeat the sewing process.
- Leave a gap: Make sure to leave a gap of about 8 to 12 inches on one side for filling your bean bag.
“Sewing is like a therapy session; the more you do it, the more you find peace in the process.” - Unknown
Filling Your Bean Bag
Now comes the exciting part—filling your bean bag! Whether you’re using polystyrene beads, foam, or other materials, ensure that you fill it properly for maximum comfort:
- Polystyrene beads: These are lightweight and provide a soft feel. Fill the bag until it reaches your desired level of firmness.
- Foam: Shredded foam will give your bean bag more support but can make it heavier.
Gently pour or stuff your filling into the bean bag through the opening you left earlier. Once you have the desired amount, take the following steps to close it up:
- Fold the edges: Tuck in the raw edges of the fabric inward.
- Sew the opening closed: Use a straight stitch to securely sew the gap closed.
Finishing Touches
Congratulations—you have successfully created your own bean bag! Here are some finishing touches you might want to consider:
- Add a handle: Sewing a fabric handle on top can make it easier to move your bean bag around.
- Personalize it: Consider adding patches, embroidery, or fabric paint to make it unique.
- Protective cover: For longevity, consider making a removable cover that can be washed.
Maintenance Tips for Your Bean Bag
To ensure the durability of your bean bag, here are some maintenance tips:
- Spot clean: Use a damp cloth with mild soap for any spills or stains.
- Replenish filling: Over time, the filling may compress. Keep extra beads or foam on hand to refresh it.
- Store properly: If you're not using your bean bag regularly, store it in a dry and cool place to prevent wear.
Conclusion
Making your very own bean bag can be a rewarding project that enhances your living space with comfort and style. Whether you're looking to outfit your home office, create a reading nook or just want a cozy corner for relaxation, knowing how to make a bean bag gives you the flexibility to customize it to your tastes and needs. So gather your materials, get creative, and enjoy the comforts of your new bean bag for years to come!
By Guest, Published on August 17th, 2024