How to make moss wall art
Creating a Living Canvas: The Art of Moss Wall Art
Moss wall art is a stunning and eco-friendly way to bring the beauty of nature indoors. It not only enhances your home decor but also purifies the air, making it a fantastic addition to any space. In this comprehensive guide, we will explore the ins and outs of how to make moss wall art, the benefits of using moss, and tips for care and maintenance. Let’s dive in!
What is Moss Wall Art?
Before we delve into the step-by-step process of crafting moss wall art, let’s clarify what it is. Moss wall art refers to designs created using various types of preserved moss, lichen, and other natural plant materials, arranged into beautiful patterns and artworks. This trend has gained immense popularity for its ability to bring the tranquility of nature indoors while requiring minimal upkeep.
Benefits of Using Moss in Home Decor
Utilizing moss wall art in your home offers numerous benefits:
- Low Maintenance: Unlike traditional houseplants, moss requires little care and does not need watering or sunlight.
- Aesthetic Appeal: The vibrant green hues and textures of moss can transform dull walls into living, striking displays.
- Air Purification: Moss absorbs carbon dioxide and releases oxygen, improving indoor air quality.
- Versatility: Moss can be used in various styles, from modern to rustic, making it suitable for any decor scheme.
Materials Needed for Your Moss Wall Art
To create your own beautiful moss wall art, you will need the following materials:
- Moss: Choose a variety of preserved moss types, such as reindeer moss, sheet moss, or lichen, to add texture and interest.
- Base: A wooden frame, canvas, or even a piece of plywood can serve as the base for your artwork.
- Adhesive: Use a hot glue gun or craft adhesive suitable for natural materials.
- Sculpting Tools: Scissors, tweezers, and spatulas for fine detailing.
- Decorative Elements: Optional additions like stones, sticks, or small plants to complement the moss.
- Frame (optional): A frame can add a finished look to your moss wall art.
Steps to Create Your Moss Wall Art
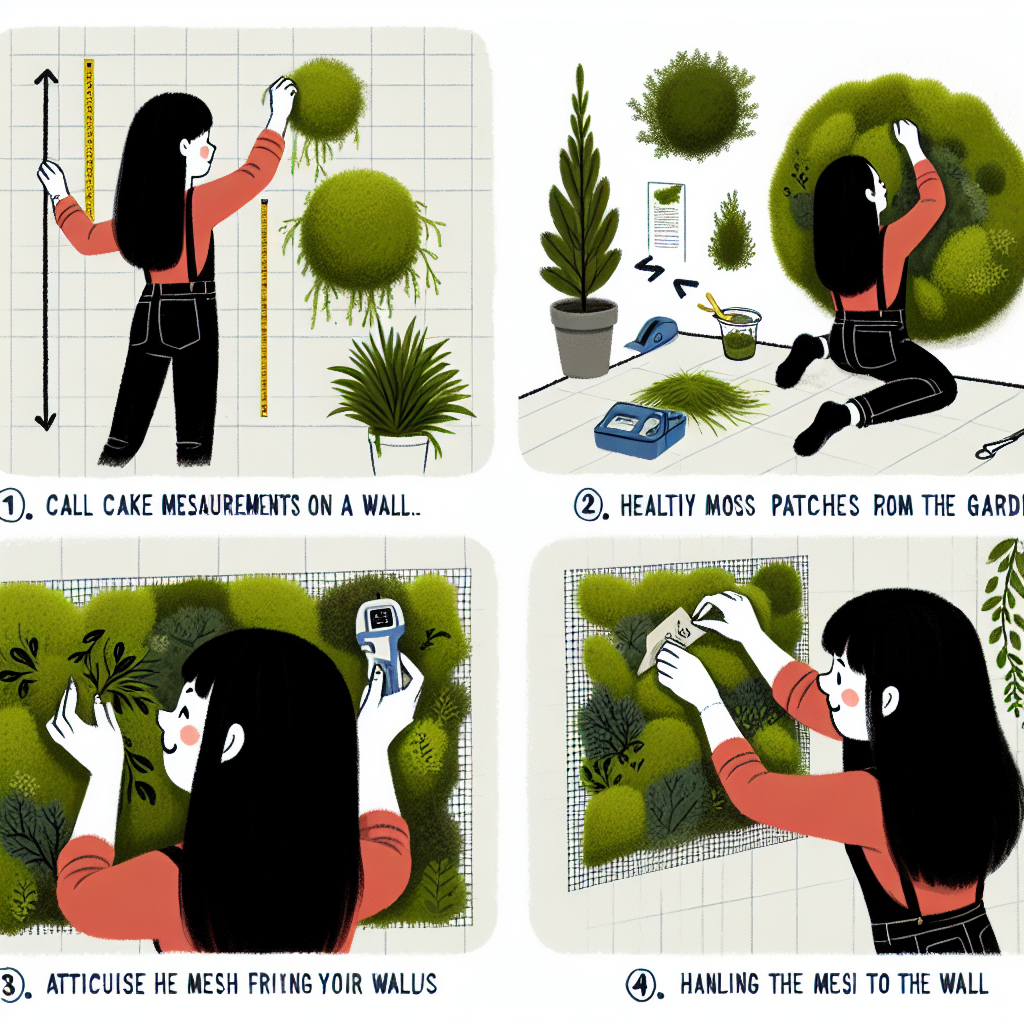
Now that you have gathered your materials, it's time to start crafting your stunning piece of moss wall art. Follow these steps for a successful project:
Step 1: Design Your Layout
Before gluing anything down, lay out your design on the base. Experiment with different arrangements of moss and decorative elements until you're satisfied.
Step 2: Prepare the Moss
If your moss comes in larger clumps, you may need to break it apart into more manageable pieces. Use scissors to achieve the desired size and shapes.
Step 3: Adhere the Moss
Once you have your design ready, start gluing the moss to your base. Apply a small amount of hot glue to the base and press the moss onto it, holding it in place until it adheres. Work from the larger pieces to the smaller accents, layering for depth.
Step 4: Add Decorative Elements
If you wish to enhance your artwork further, now is the time to incorporate decorative elements like stones or twigs. These can be added using the same glue technique.
Step 5: Final Touches
After all elements are securely placed, take a step back and assess your artwork. Make any adjustments needed to balance the design. If desired, you can frame your piece for a polished look.
Ideas and Inspirations for Your Moss Wall Art
Feeling unsure about what design to create? Here are some ideas to inspire your creativity:
- Geometric Patterns: Create a modern look with triangles, squares, and circles.
- Nature Scenes: Design a landscape, including trees, mountains, or water features made from moss.
- Seasonal Themes: Change your moss art based on the seasons, adding elements like pine cones in winter or flowers in spring.
- Imagery: Create shapes or symbols such as hearts, initials, or abstract curves.
- Mixed Media: Combine moss with other elements like wood or glass for unique textures and effects.
Caring for Your Moss Wall Art
One of the appealing aspects of moss wall art is its low maintenance requirements. However, there are still some tips to ensure that your piece remains in great condition:
Humidity and Light
Keep your moss art away from direct sunlight to prevent fading. A room with moderate humidity can help maintain the moss's softness; if your indoor environment is too dry, consider misting the moss lightly every few weeks.
Dusting
Regularly dust your moss wall art using a soft brush or a vacuum cleaner with a brush attachment. This will help avoid built-up dust that could dull its appearance.
Repairs
If you notice any moss pieces coming loose, simply reapply some glue to secure them back in place. Keep an eye out for any discoloration and replace any sections of moss that may look less vibrant.
Where to Hang Your Moss Wall Art
Choosing the right location for your moss wall art can further enhance its impact in your home. Here are some ideas:
- Living Room: A focal point above your sofa or fireplace can become a conversation starter.
- Office Space: Incorporate it into your workspace to bring a touch of calm and creativity.
- Entryway: A moss art piece can create a warm and inviting atmosphere for guests as they enter your home.
- Bedroom: A soothing design can add tranquility to your personal space.
Conclusion
Creating beautiful **moss wall art** is not only a fun artistic venture but also a way to bring a slice of nature into your home. The process is relatively simple, requiring minimal materials and time investment. With the right inspiration and creativity, you can craft a unique piece of art that will be appreciated for years to come.
So, roll up your sleeves, gather your materials, and get started on your very own masterpiece. The lush greens of moss await to breathe life into your decor!
By Guest, Published on October 8th, 2024